
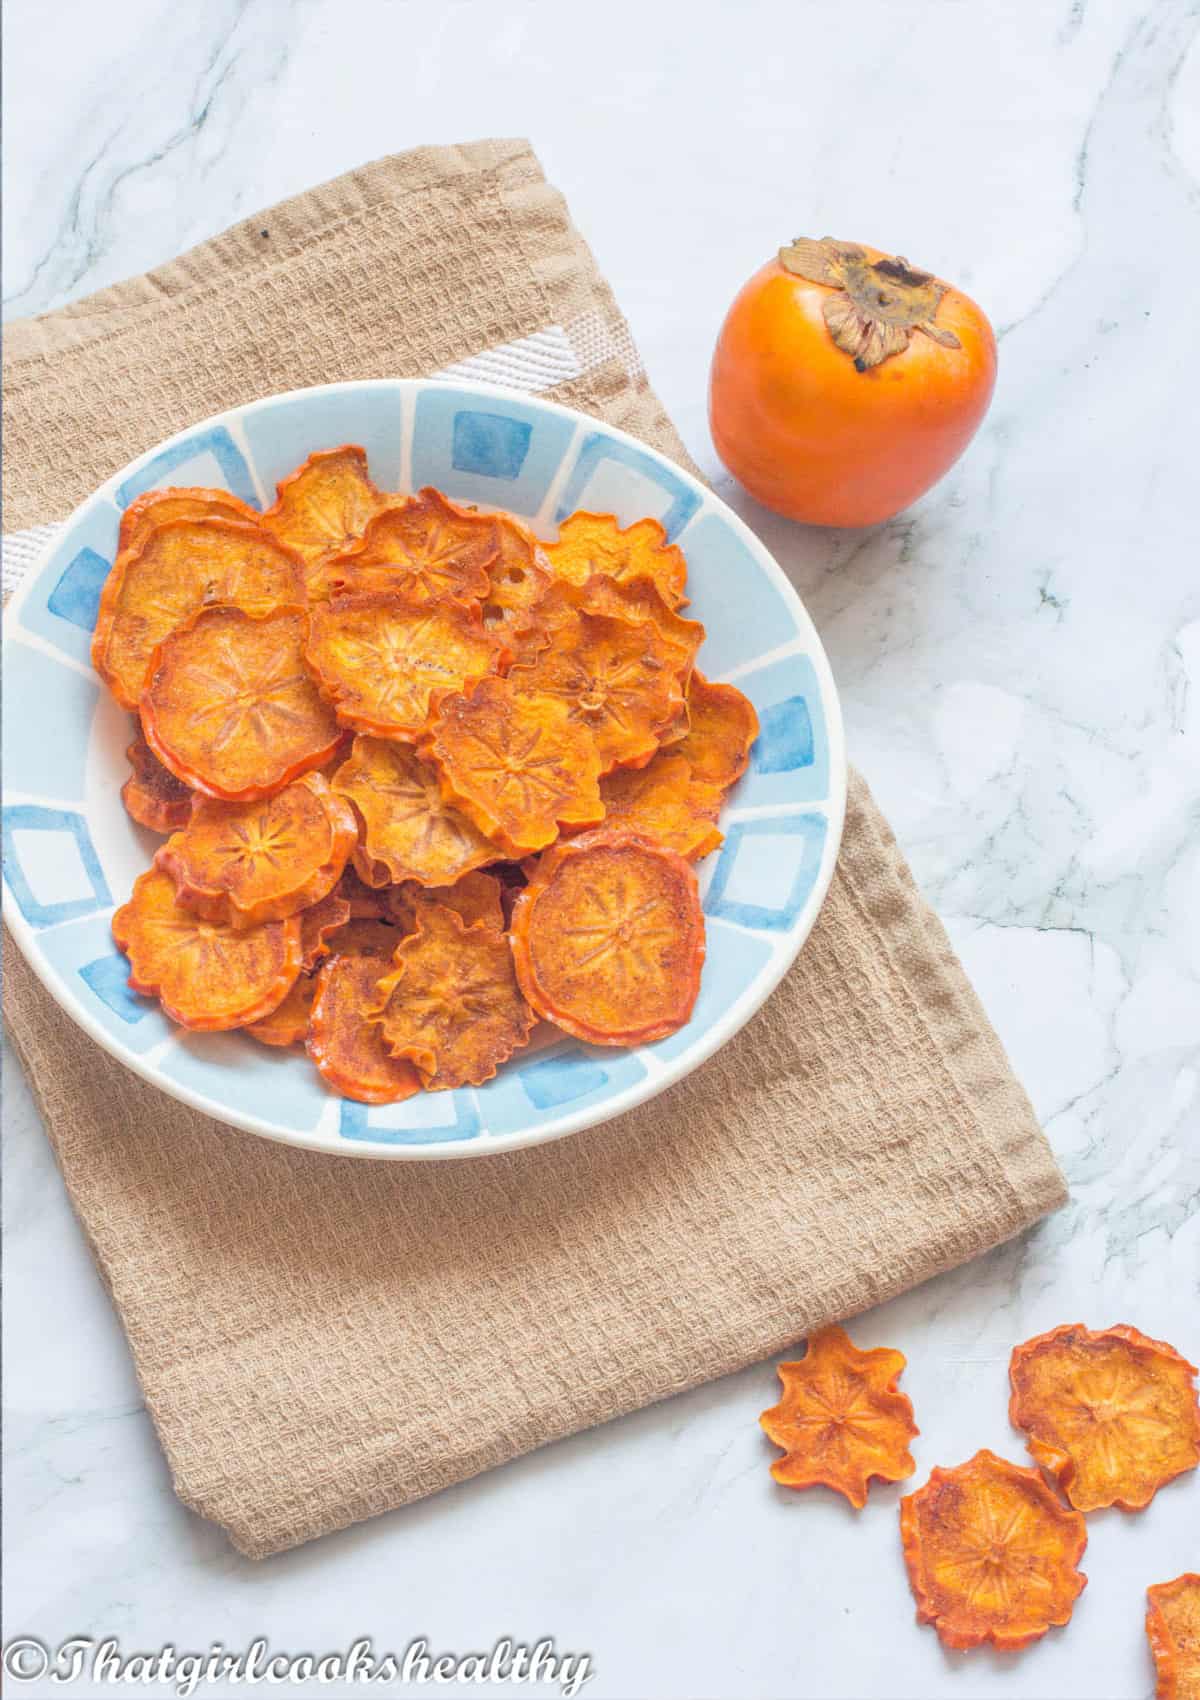
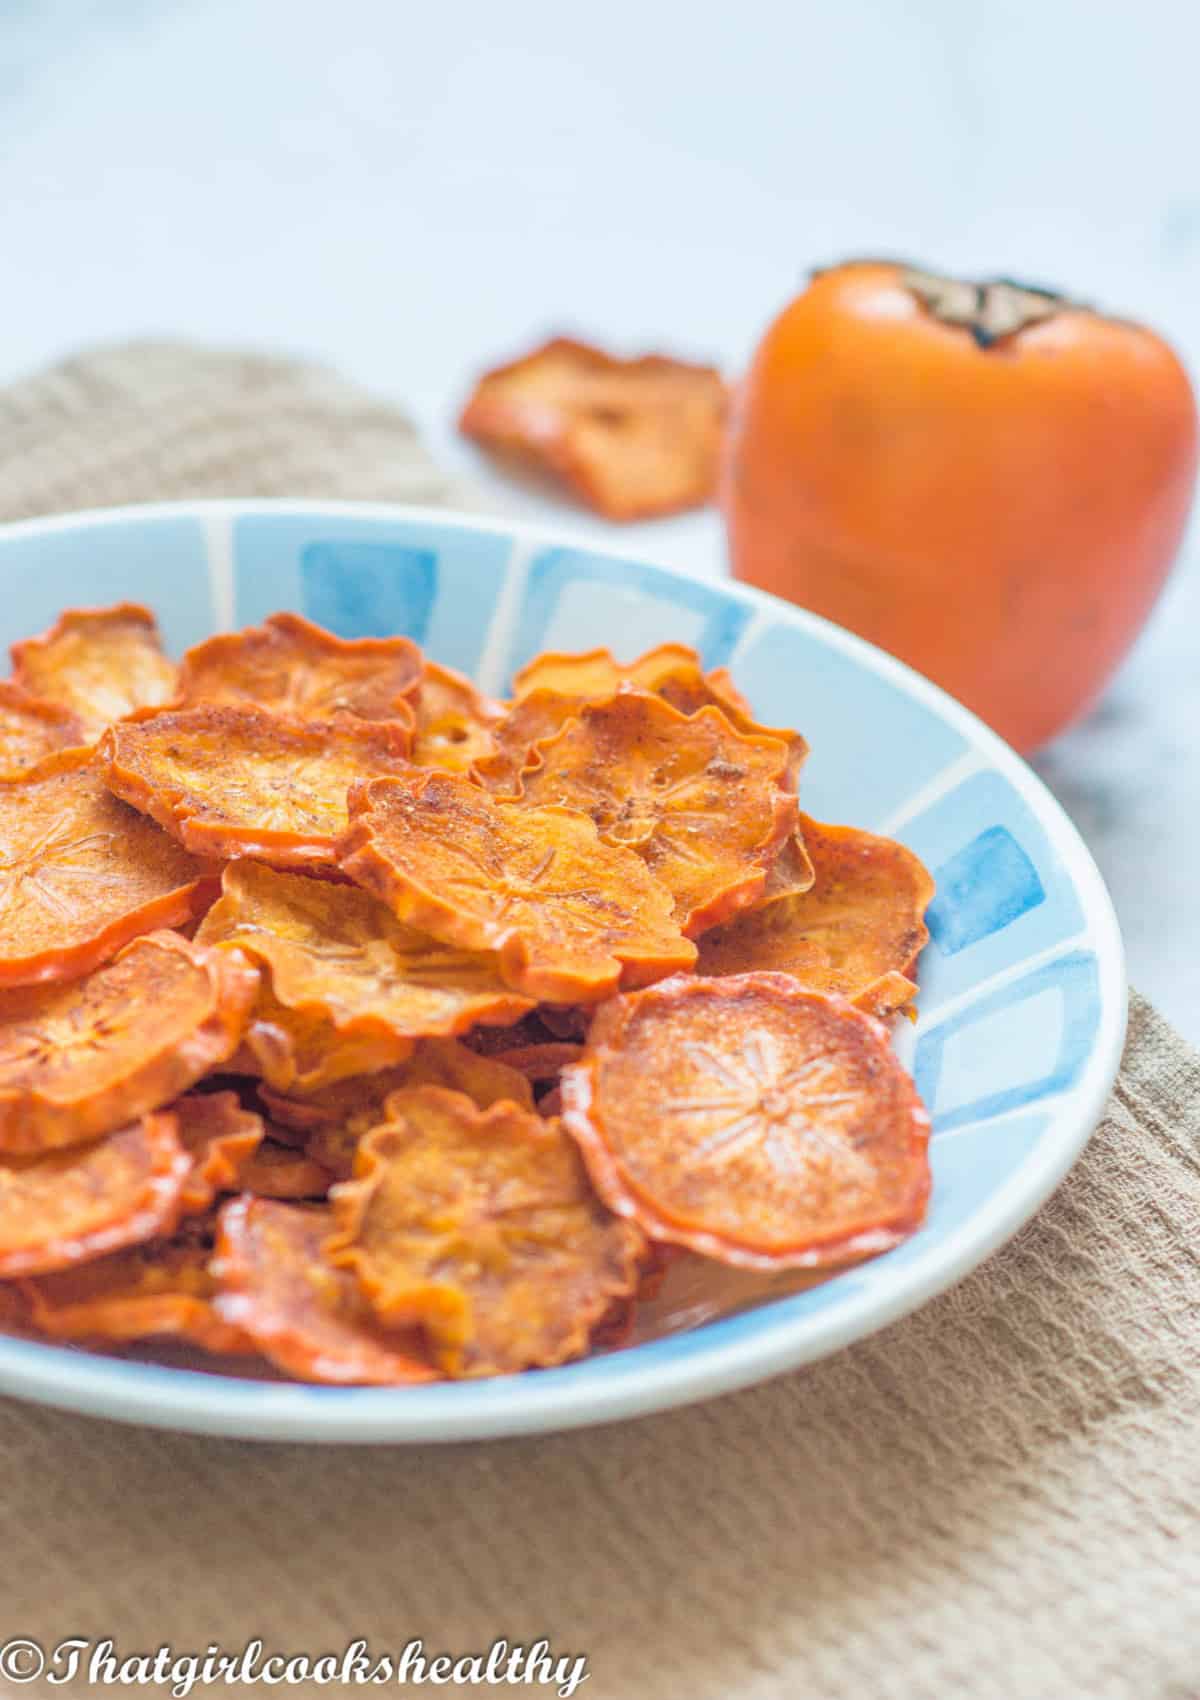
Learn how to make these homemade persimmon chips using your dehydrator. They are super healthy, crispy, delicious and incredibly addictive. Perfect for adults and children to snack on, suitable for most dietary requirements with an option to flavour the chips too.
While persimmons are still avaible here in the supermarkets I might aswell share with you one of my favourite recipes that I like to make with them.
Unfortunately, persimmons aren't like apple and oranges where you can purchase them anytime of the year.
This Asian fruit is sought after during the winter months so I always stock up on them. I usually buy them and leave them to ripen until they are extremely soft to the touch and almost at bursting point.
This time I decided to use them while they were firm in order to make some chips with them.
There are many varieties of persimmon out there with Fuyu and Haichiya being the most popular ones. Both make delicious dehyrated slices to snack on.
I personally prefer to dehyrate fruit chips in my dehydrator as it is very economical, uses less energy with much better control and consistency of the end results.
Some prefer to use their oven, but I find the results are more mixed, a lot depends on the type of oven being used, is it gas, electric, also climate comes into play, whether you will in the tropics or the cold impacts things too.
It is financially better and more hassle free to use your dehydrator. Furthermore, the likelihood of having a recipe disaster on your hands is minimal, if at all.
Reasons to make chips at home and in your dehydrator
There are SOOO many perks to making your own chips at home along with using your dehyrator;
- The results are more likely to be consistent.
- You know exactly what goes into those chips i.e no fillers or extras
- Once you setup your dehydrator, you don't need to babysit it (unless you want to)
- You can run errands, socialise or go to work and come home to already made chips
- You can leave the dehydrator to work its magic overnight while you're asleep.
- Homemade chips are fresh
- Make them for your children to snack/great alternative to candy/sweets.
- Add the chips to a trail mix, baked goods or a savoury dish/salad
- You can flavour them or just make them neat
As you can see from the above list, there are many reasons as to why you may want to consider making your own persimmon chips from scratch.
I now have a mandolin slicer so moving forward, in respect to many of my newer recipes that call of thin slices, I will most likely be using it.
For this recipe I used my mandolin slicer and I'm elated that I finally have one because I can definitely see the difference in slicing freestyle versus using this device.
You get every slice the same each and everytime with minimal effort. I do recommend investing in one if possible.

I know with the cost of living, not everyone can afford to purchase kitchen gadgets that us foodies may recommend and I do respect and understand that but this one is a game changer.
I like to add a spice mix to the persimmons once they have been sliced - cinnamon, nutmeg, ginger with a small amount of pink salt and raw cane sugar.
This is an optional step and one that you DO NOT need to follow, if you want your persimmon chips made neat with no flavouring.
All you need to do is skip this step instead.
The steps
- Wash and thoroughly dry each persimmon and set aside.
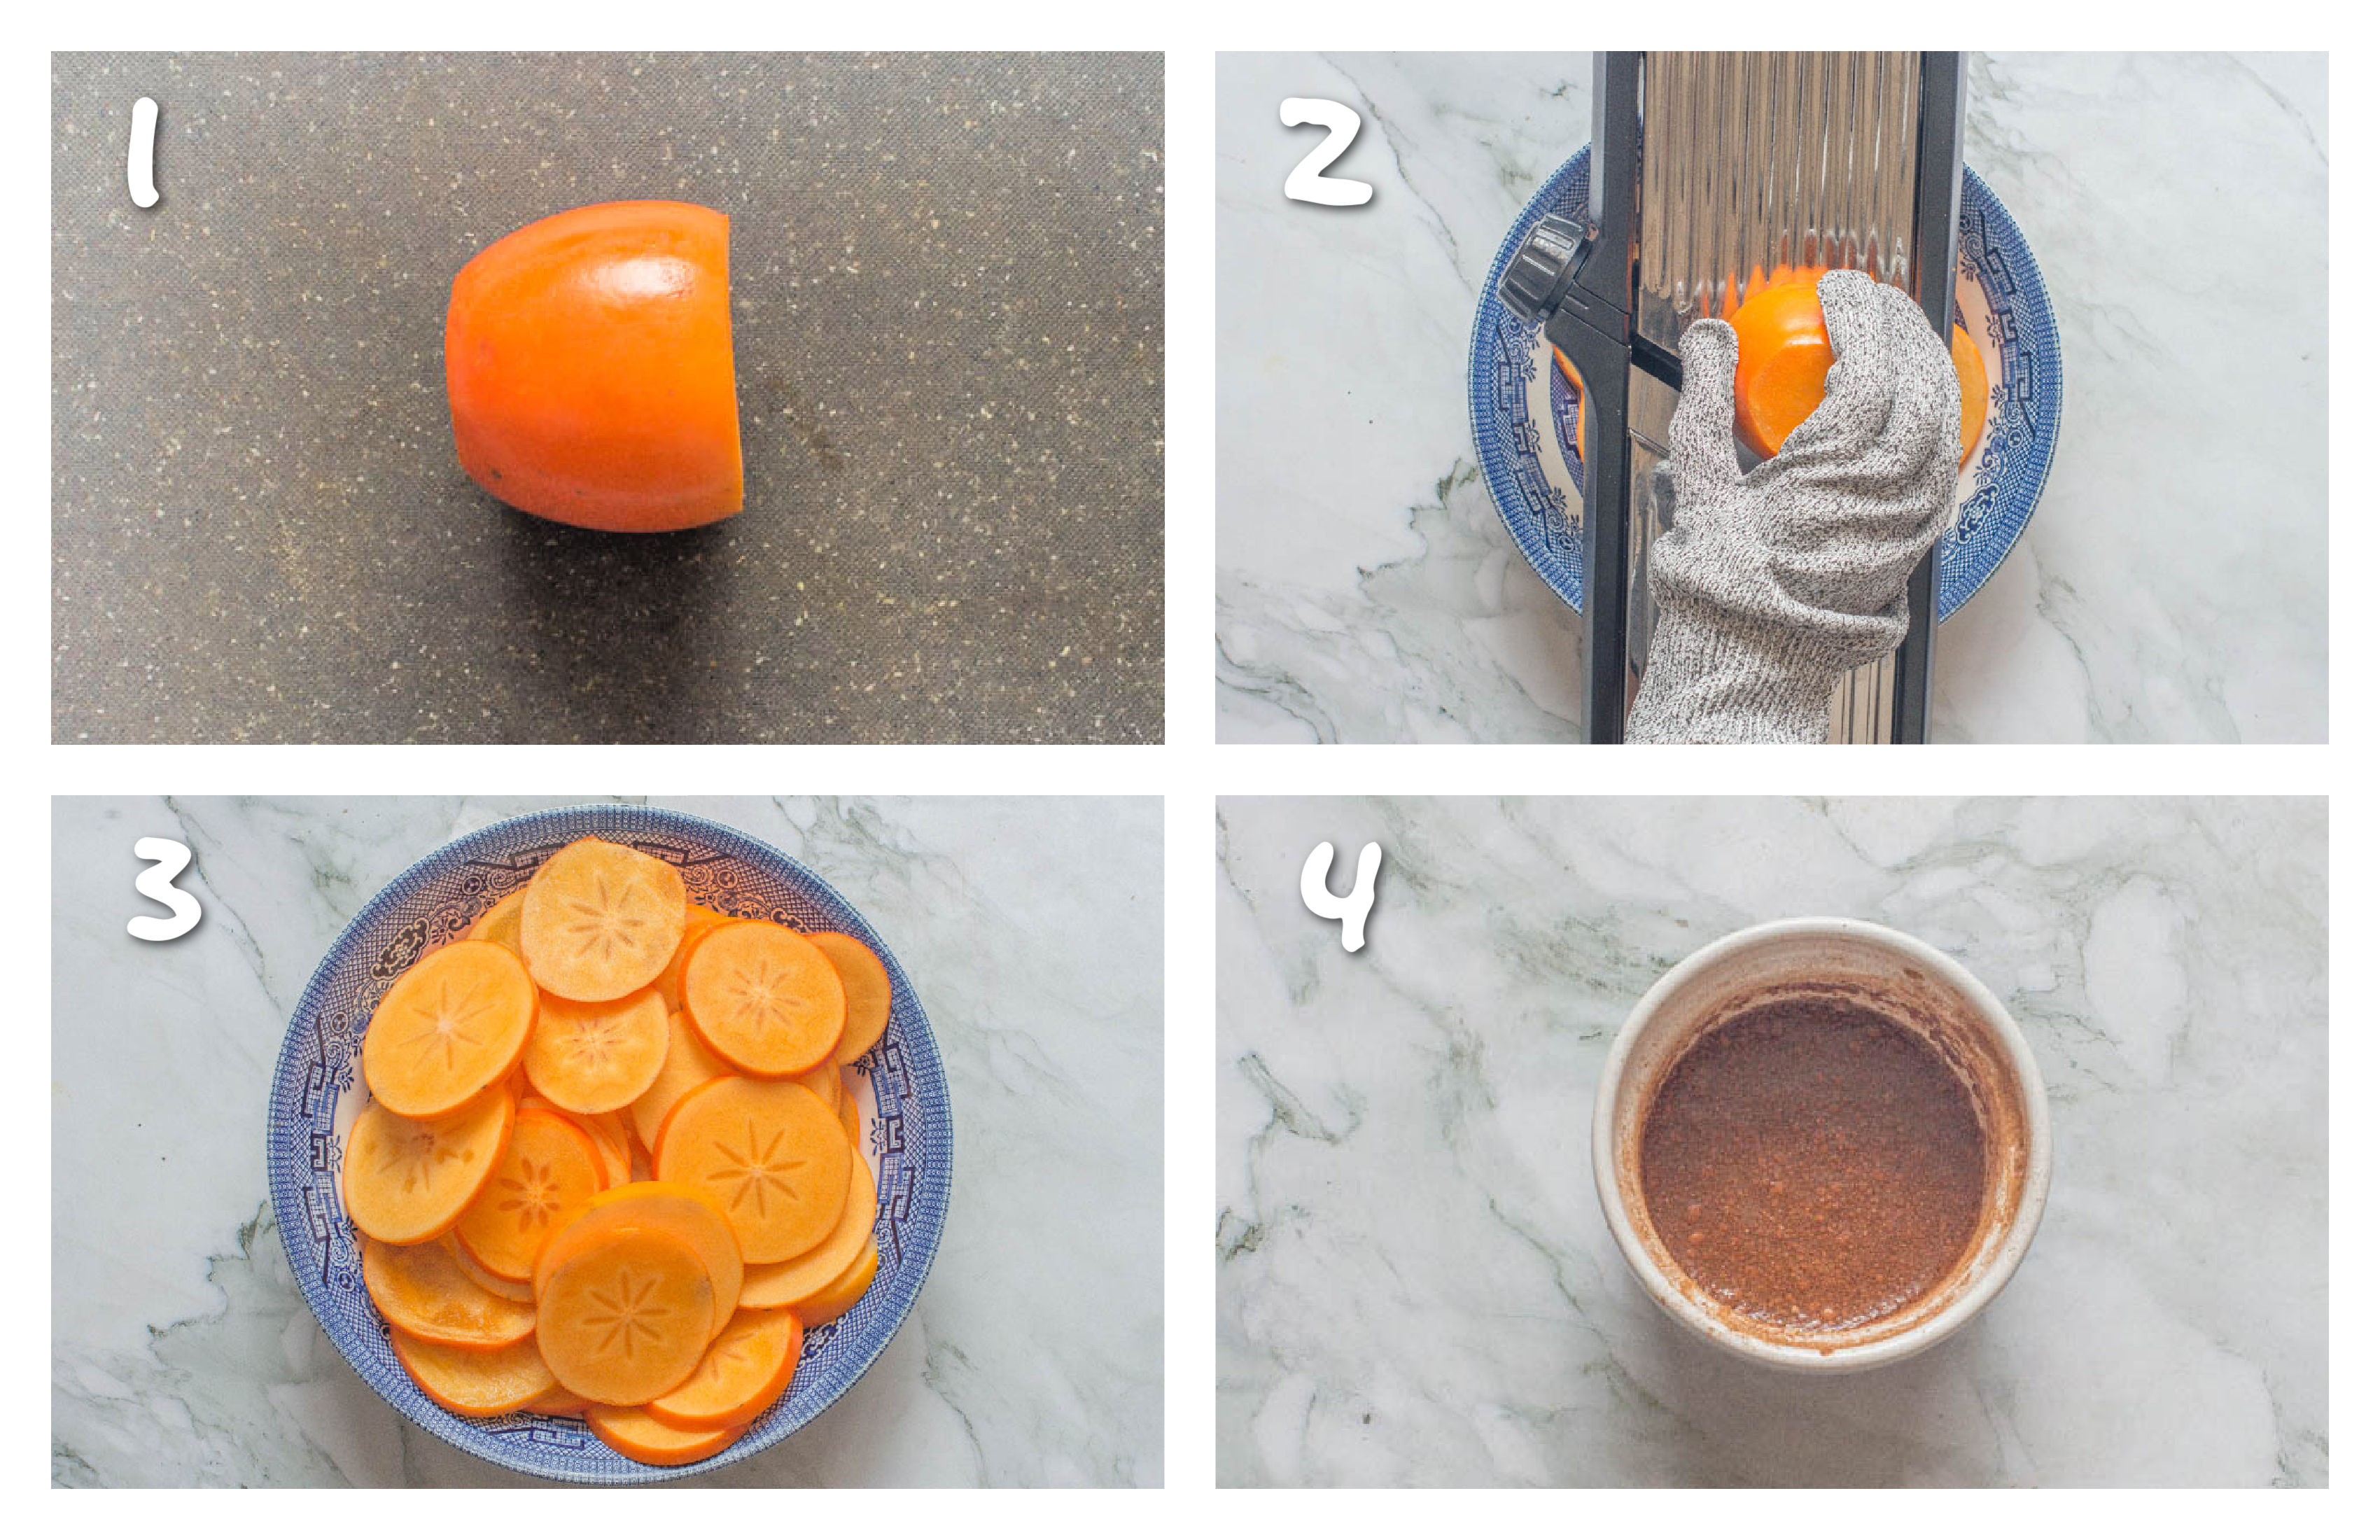
- Slice and discard the top and ends of each persimmon.
- Use a mandolin slicer to thinly slice the persimmons (I set my device to 5mm).
- Whisk together the lime juice, cinnamon, nutmeg, ginger, raw cane sugar and pink salt in a small bowl. If you aren't adding flavour, skip this step and move on to step 7.
- Place the persimmon slices in a large ziplock/secure bag along with the lime juice/spice mixture.
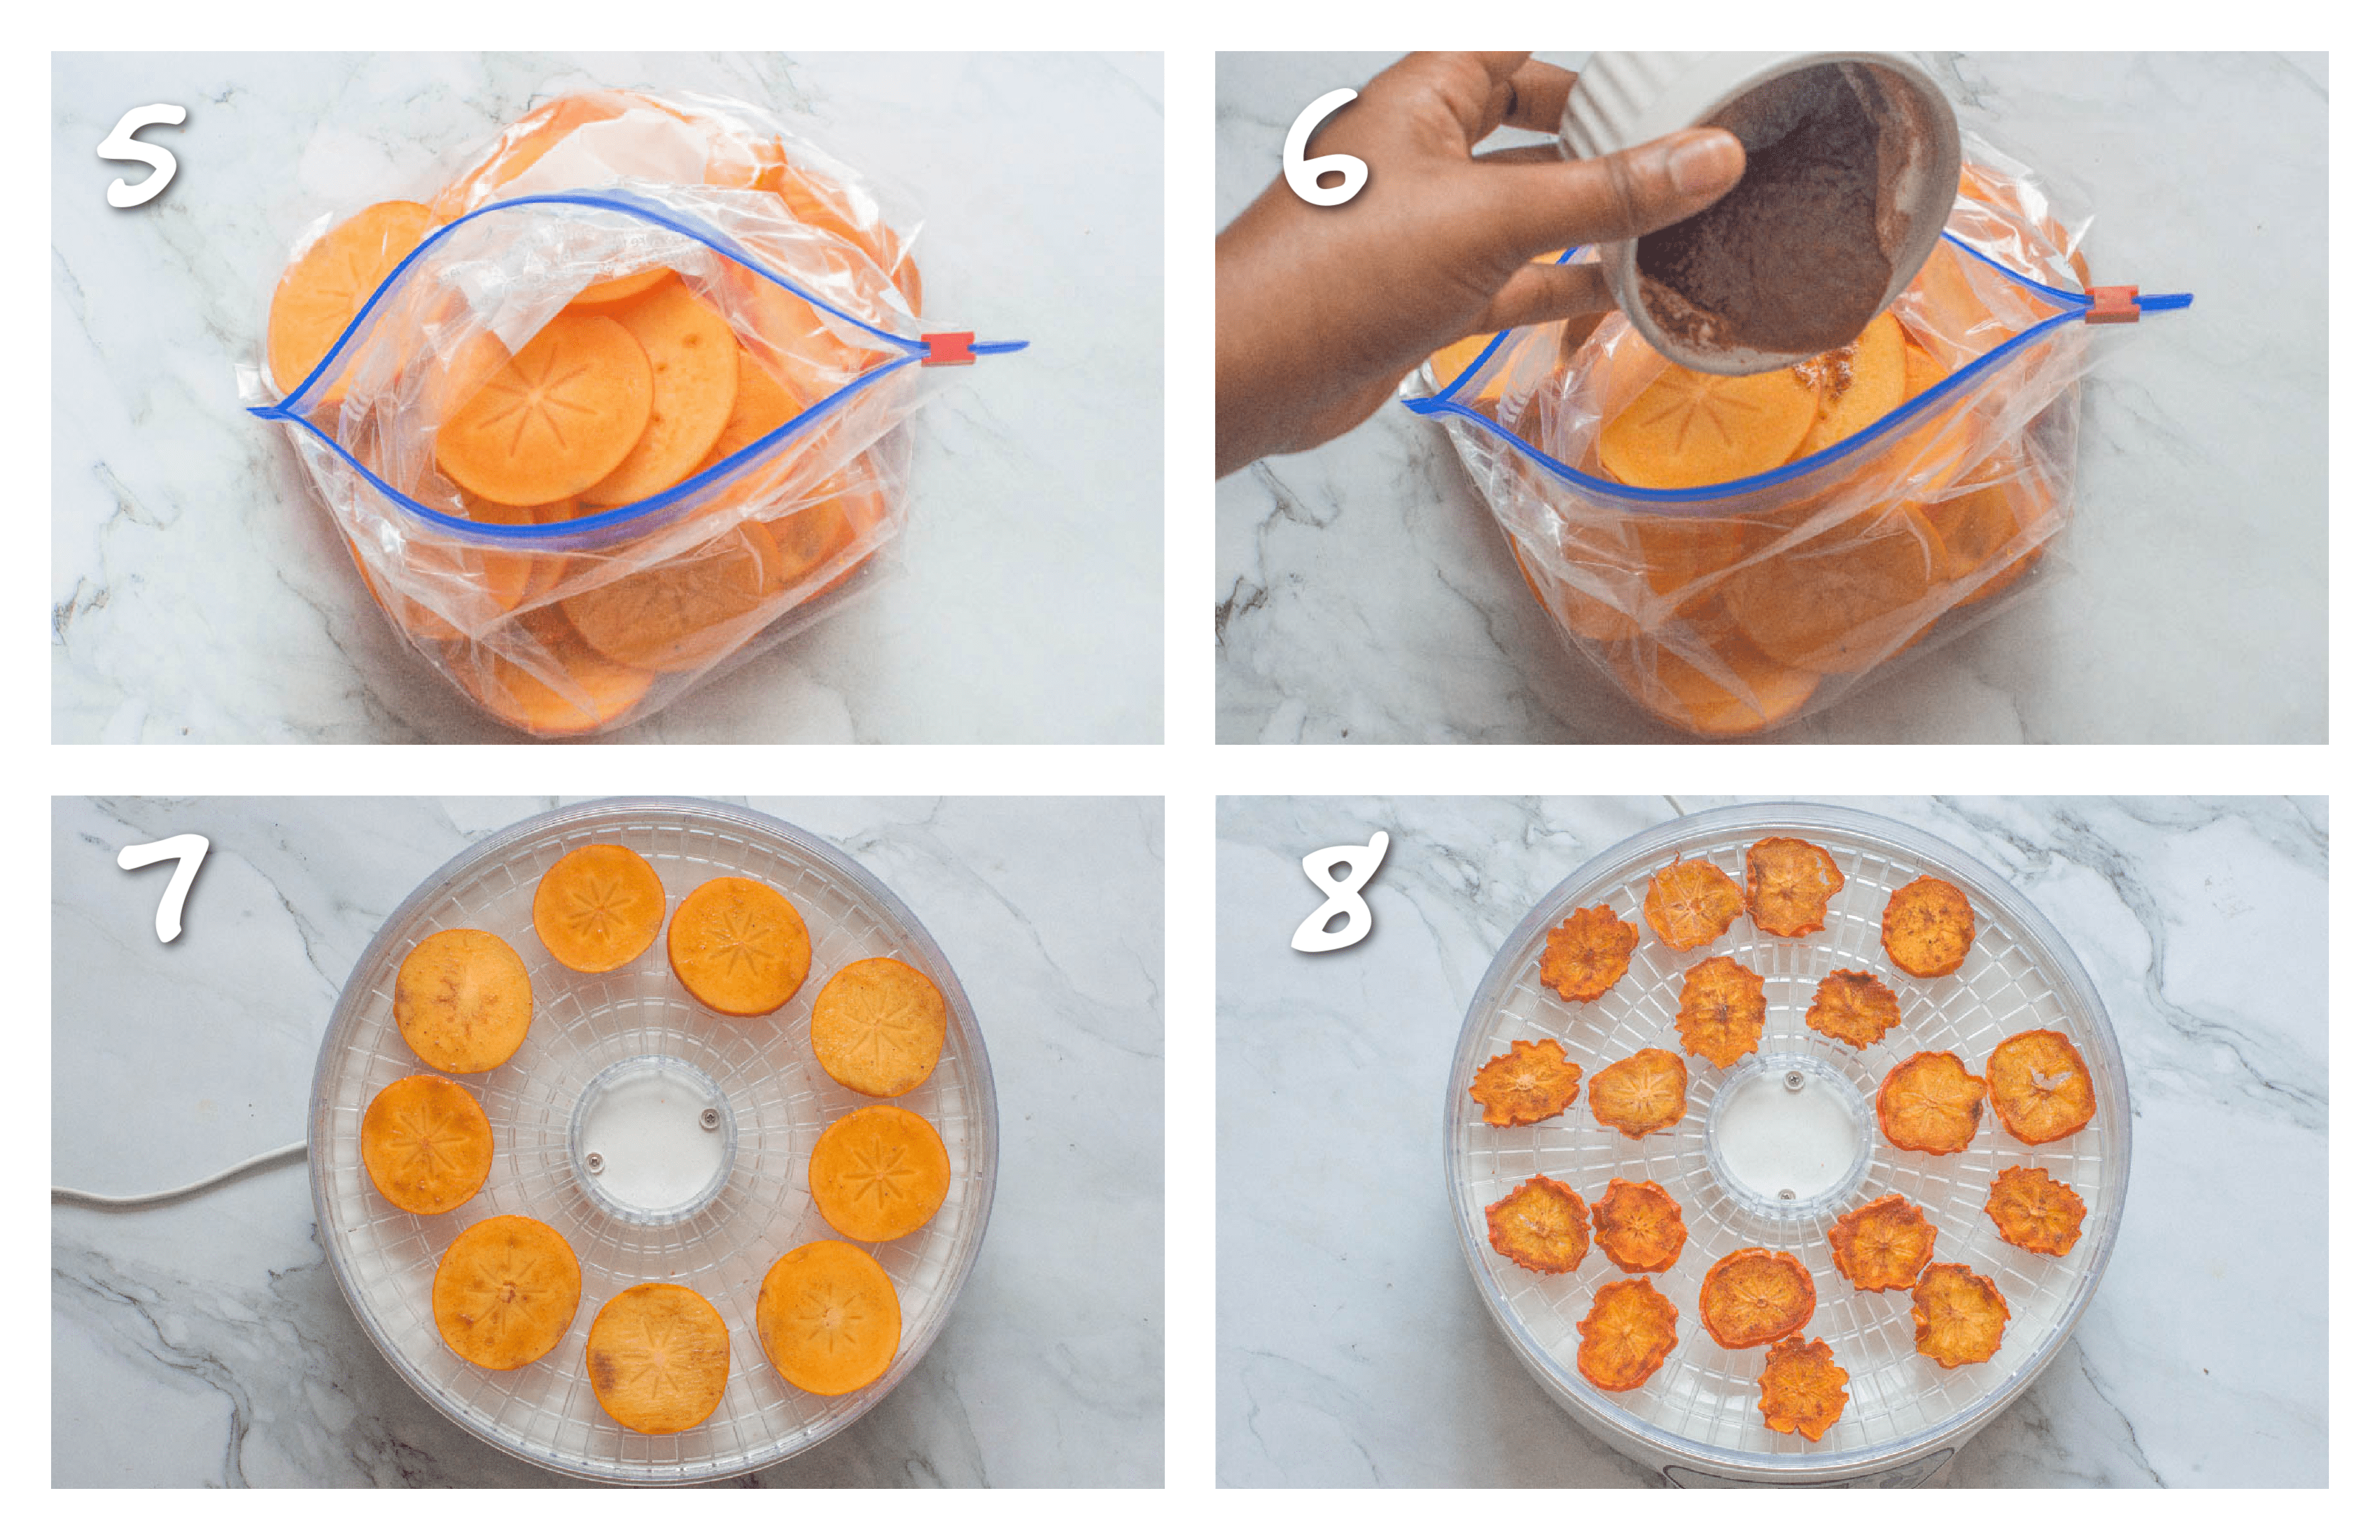
- Shake the bag until the mixture coats all of the slices and leave to marinate for 10 minutes.
- Remove the slices from the bag and place each one on the dehydrator trays/racks. Being careful not to overlap them.
- Set the dehydrator to 140F/60C for 8-15 hours. The amount of time will depend on how crispy you like your chips and the thickness.
- Once done, store in an airtight container.
Notes and tips
- For best results, I highly recommend using a mandolin slicer. This little gaget will yield very thin and perfectly even slices of chips.
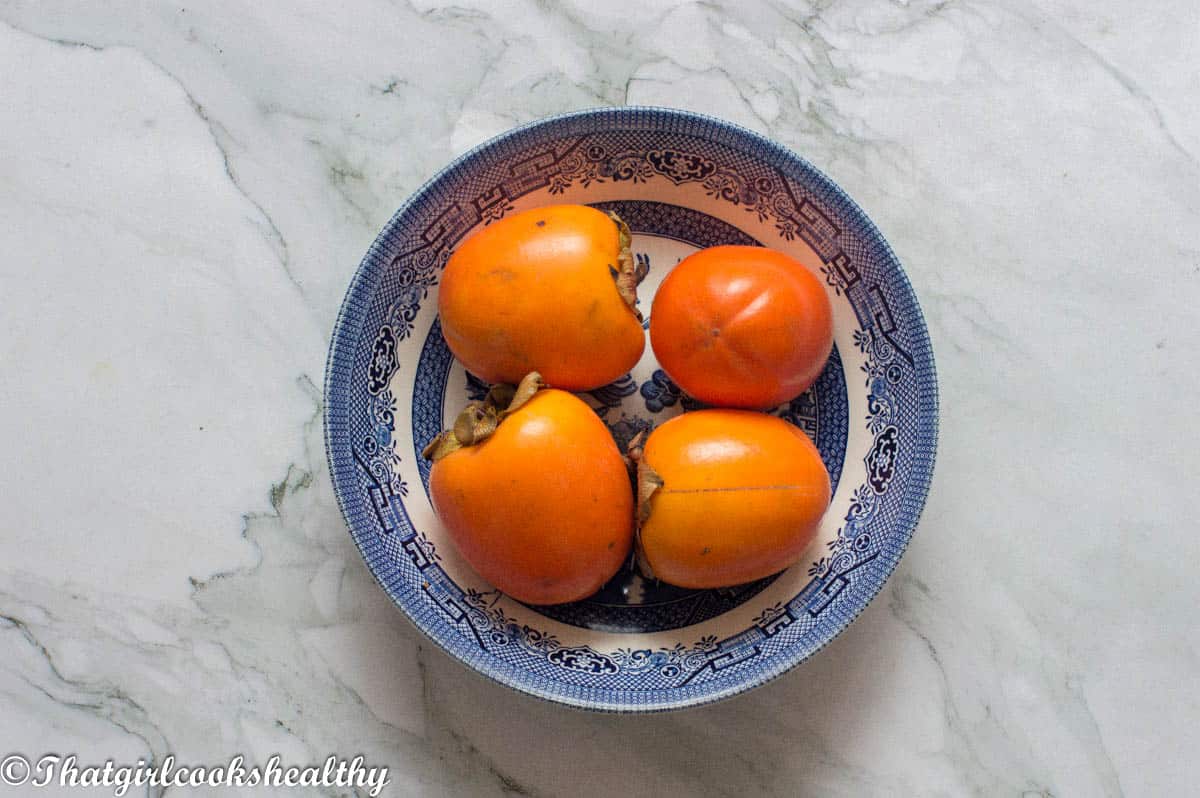
- Use persimmons that are firm enough to slice, you don't want ones that are soft.
- You can remove the peel if you wish, but I prefer to leave it to optimise fibre levels.
- Store any leftover chips in an air tight container (in a cool place) for up to a week.
- Be sure to lay the persimmon slices in a single layer and not overlapping.
- Do not store the dehydrated persimmons until they are completely cool to eliminate moisture.
- You can extend the shelflife further by storing the chips in a vaccum sealed bag.
More recipes to try
- Scotch Bonnet Pepper Powder
- Sweet Potato Flour
- Plantain Flour
- Air Fryer Date Sugar
- Caribbean Curry Sauce
- Mango Jam
- Powdered Sugar
- Sea Moss Gel
- Annatto Oil
**Don't forget to comment below and star rate if you have tried my recipes. Let's be friends and engage on YouTube, Facebook and Instagram I also like to pin on Pinterest, where you can find more amazing recipes.**

Persimmon Chips
Ingredients
- 4-5 persimmons firm and ripe
- ¼ cup lime juice (60ml)
- 1½ tablespoon raw cane sugar (18g)
- 1 teaspoon cinnamon (2g)
- ¼ teaspoon nutmeg (0.5g)
- ¼ teaspoon ginger (0.5g)
- ⅛ teaspoon pink salt (0.75g)
Instructions
- Wash and thoroughly dry each persimmon and set aside.
- Slice and discard the top and ends of each persimmon.
- Use a mandolin slicer to thinly slice the persimmons (I set my device to 5mm).
- Whisk together the lime juice, cinnamon, nutmeg, ginger, raw cane sugar and pink salt in a small bowl. If you aren't adding flavour, skip this step and move on to step 7.
- Place the persimmon slices in a large ziplock/secure bag along with the lime juice/spice mixture.
- Shake the bag until the mixture coats all of the slices and leave to marinate for 10 minutes.
- Remove the slices from the bag and place each one on the dehydrator trays/racks. Being careful not to overlap them.
- Set the dehydrator to 140F/60C for 8-15 hours. The amount of time will depend on how crispy you like your chips and the thickness.
- Once done, store in an airtight container.
Notes
- For best results, I highly recommend using a mandolin slicer. This little gaget will yield very thin and perfectly even slices of chips.
- Use persimmons that are firm enough to slice, you don't want ones that are soft.
- You can remove the peel if you wish, but I prefer to leave it to optimise fibre levels.
- Store any leftover chips in an air tight container (in a cool place) for up to a week.
- Be sure to lay the persimmon slices in a single layer and not overlapping.
- Do not store the dehydrated persimmons until they are completely cool to eliminate moisture.
- You can extend the shelflife further by storing the chips in a vaccum sealed bag.


Leave a Reply