
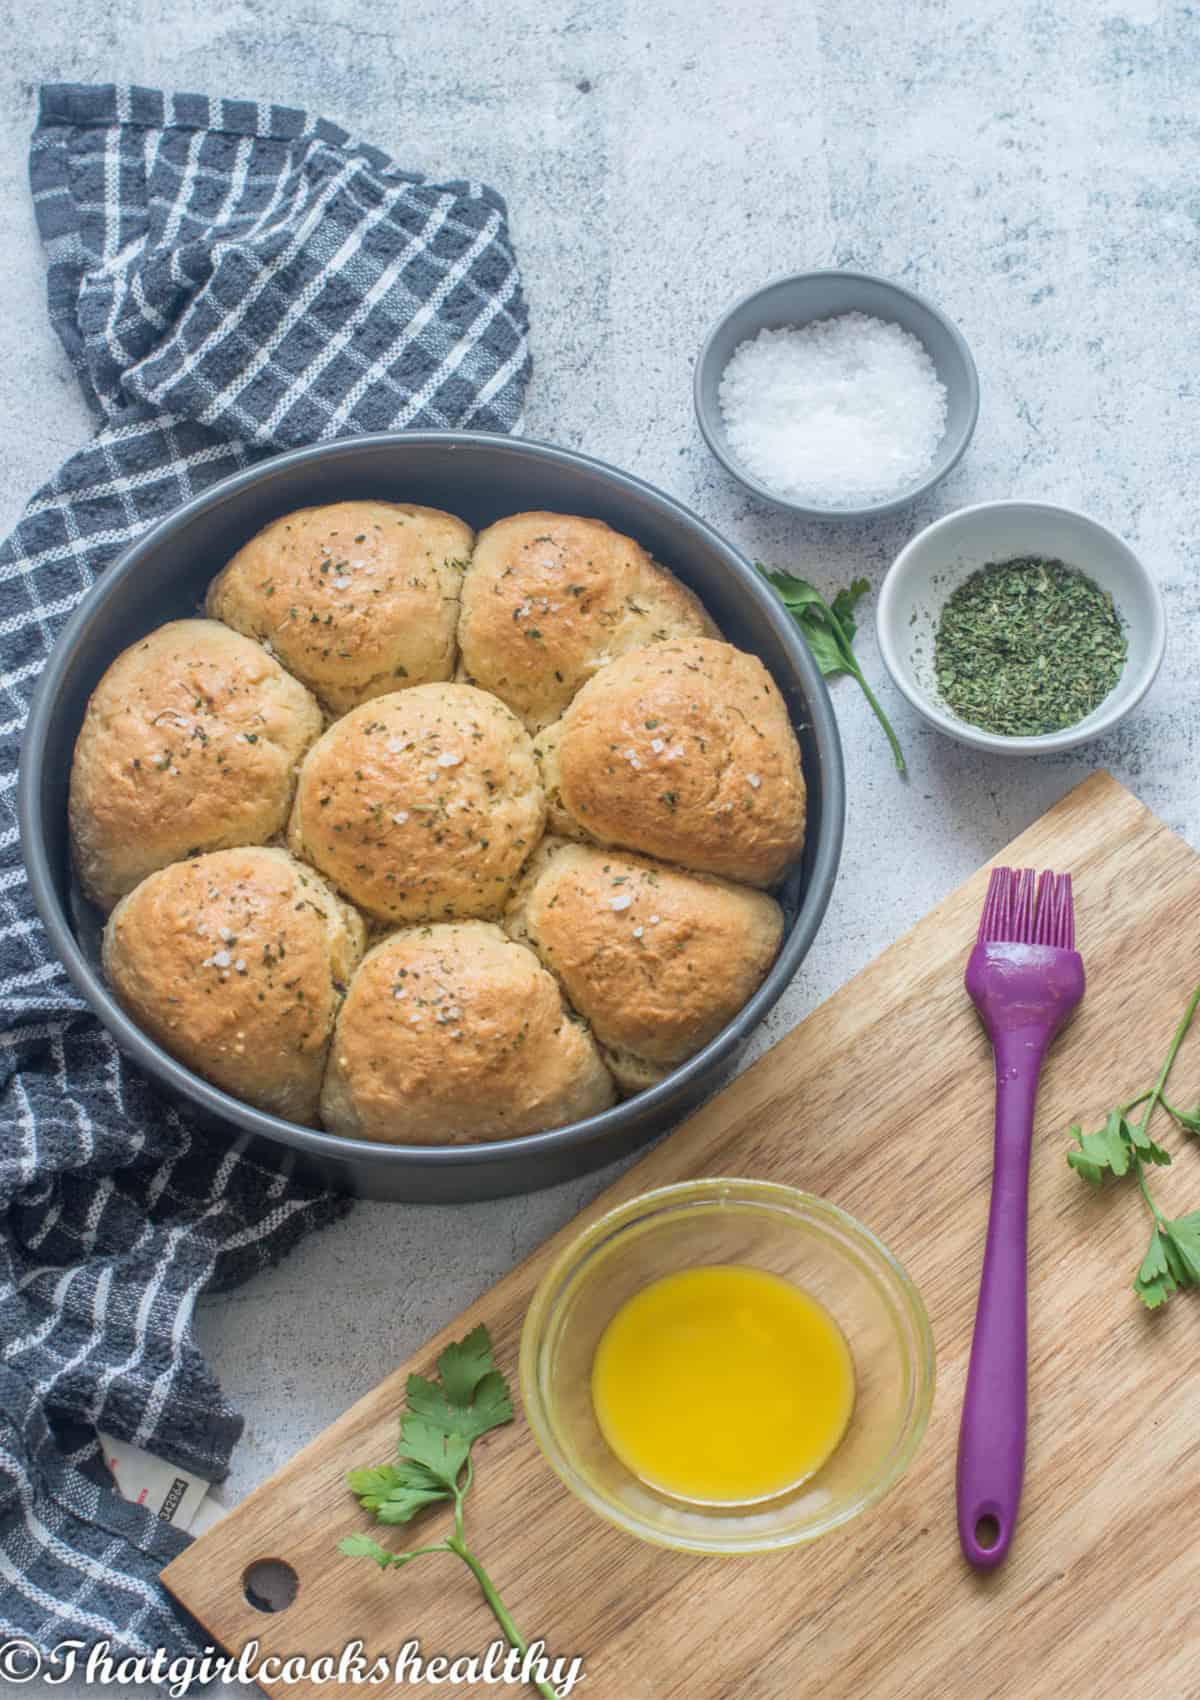
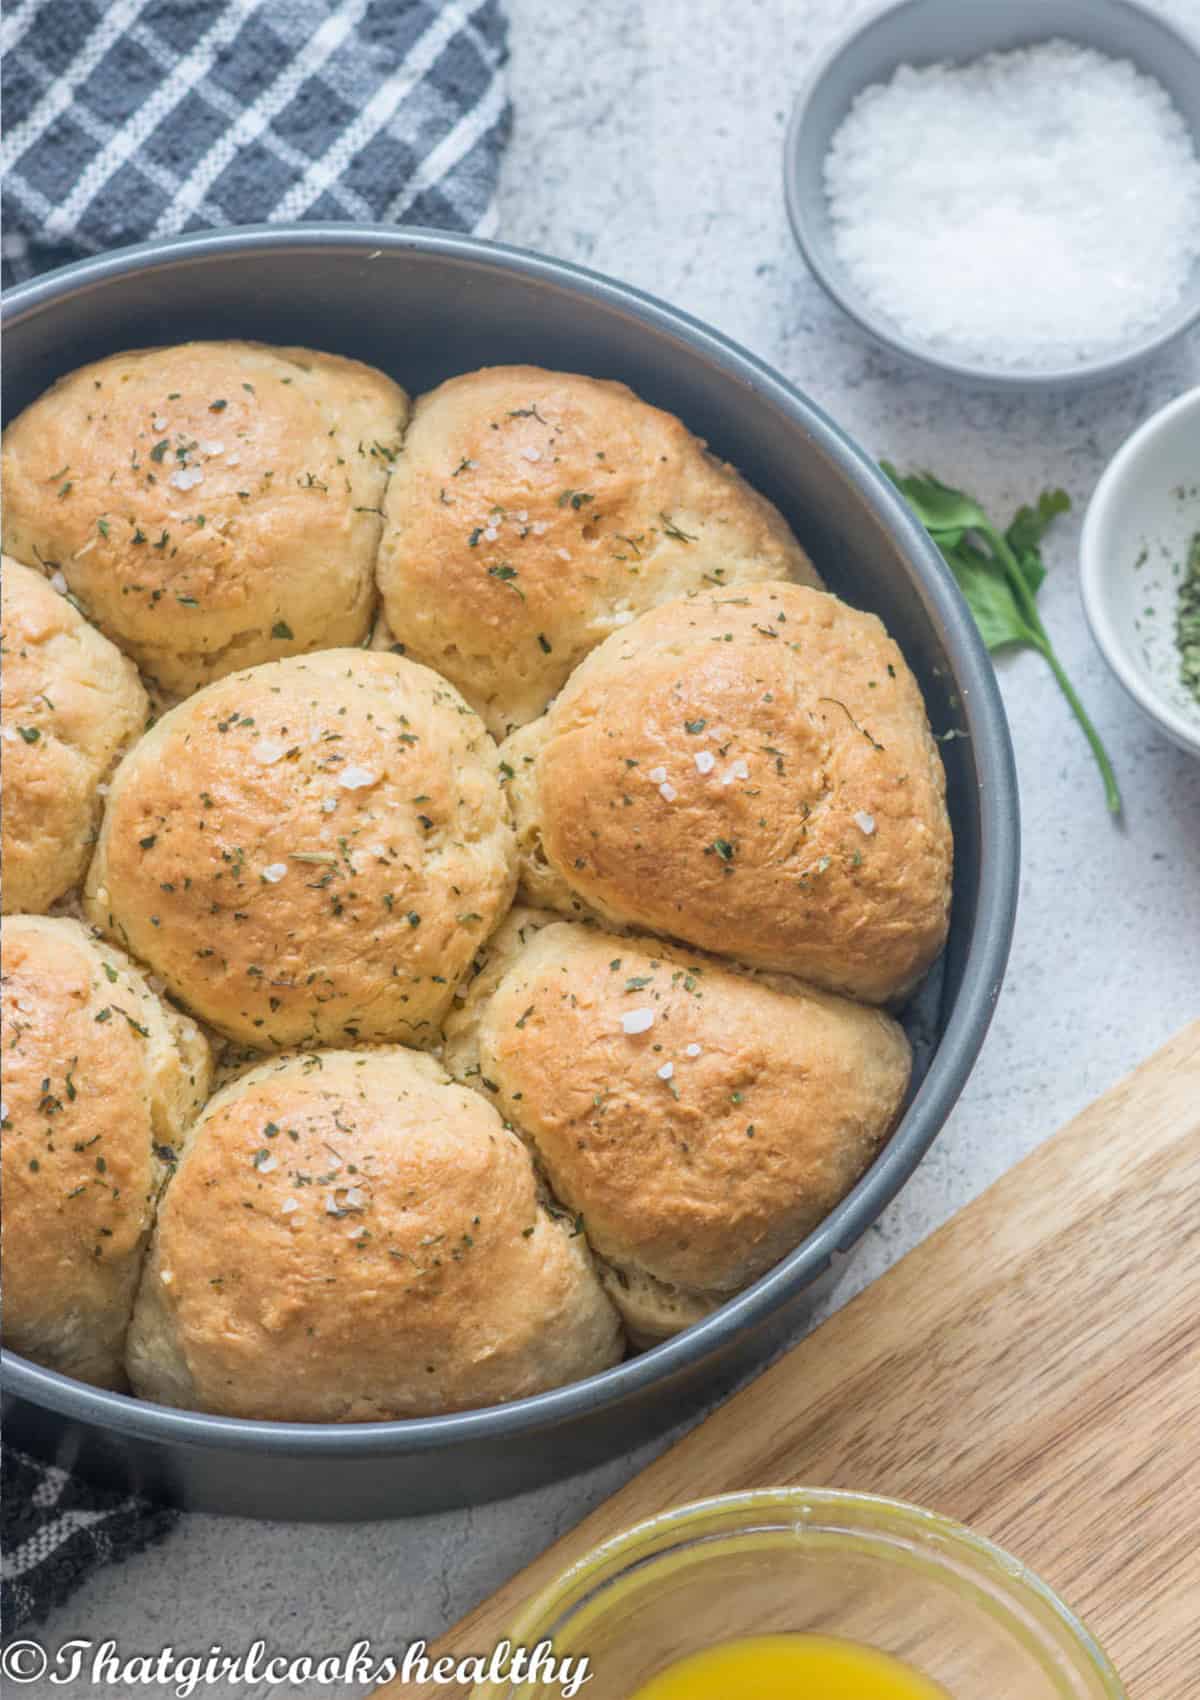
Learn how to make delicious soft wholesome gluten free dinner rolls. They are so fool proof in taste and texture, that you would not believe they are made without any wheat flour. These rolls are made using my homemade flour blend, that is dairy free, doesn't contain any potato starch or corn starch (flour).
**PLEASE NOTE THAT MY BREAD RECIPES, ARE HOT/WARM RECIPES, MEANING YOU WILL NEED TO SERVE THEM IMMEDIATELY OR THEY WILL BECOME DENSE WHEN COLD**
When was the last time that you had a decent tasting dinner roll that was free from gluten?
I got into a conversation with some people who I know that are wheat intolerant, and this conversation had me thinking about the perception of gluten free bread.
Gluten free bread based recipes, aren't for the faint hearted. If you think conventional baking is intimidating, try going the gluten free route and get back to me.
Since I started blogging, if I'm very honest with you all. I used to avoid trying my hand at bread recipes because I couldn't master it and the results were inedible.
Mind you, the gluten free game was very limited back when I started blogging several years ago so that certainly didn't help.
I wasted A LOT of time, tears and money on pie crusts, breads and so fourth. I would often focus on other recipes because I ran out of patience.
Now the brand is growing and I want to fulfil your needs, even if this includes pushing myself out of my cooking comfort zone.
Inserting this recipe, dinner rolls....yes that's right dinner rolls that actually taste like they are made for human consumption.
No they are not dense to the point that you can play tennis with them nor can they be thrown across a field for a game of baseball.
I promise you this, if you follow my recipe to the TEE, which means no changes unless I have stated and quantities must NOT be altered then you will get the outcome as pictured.
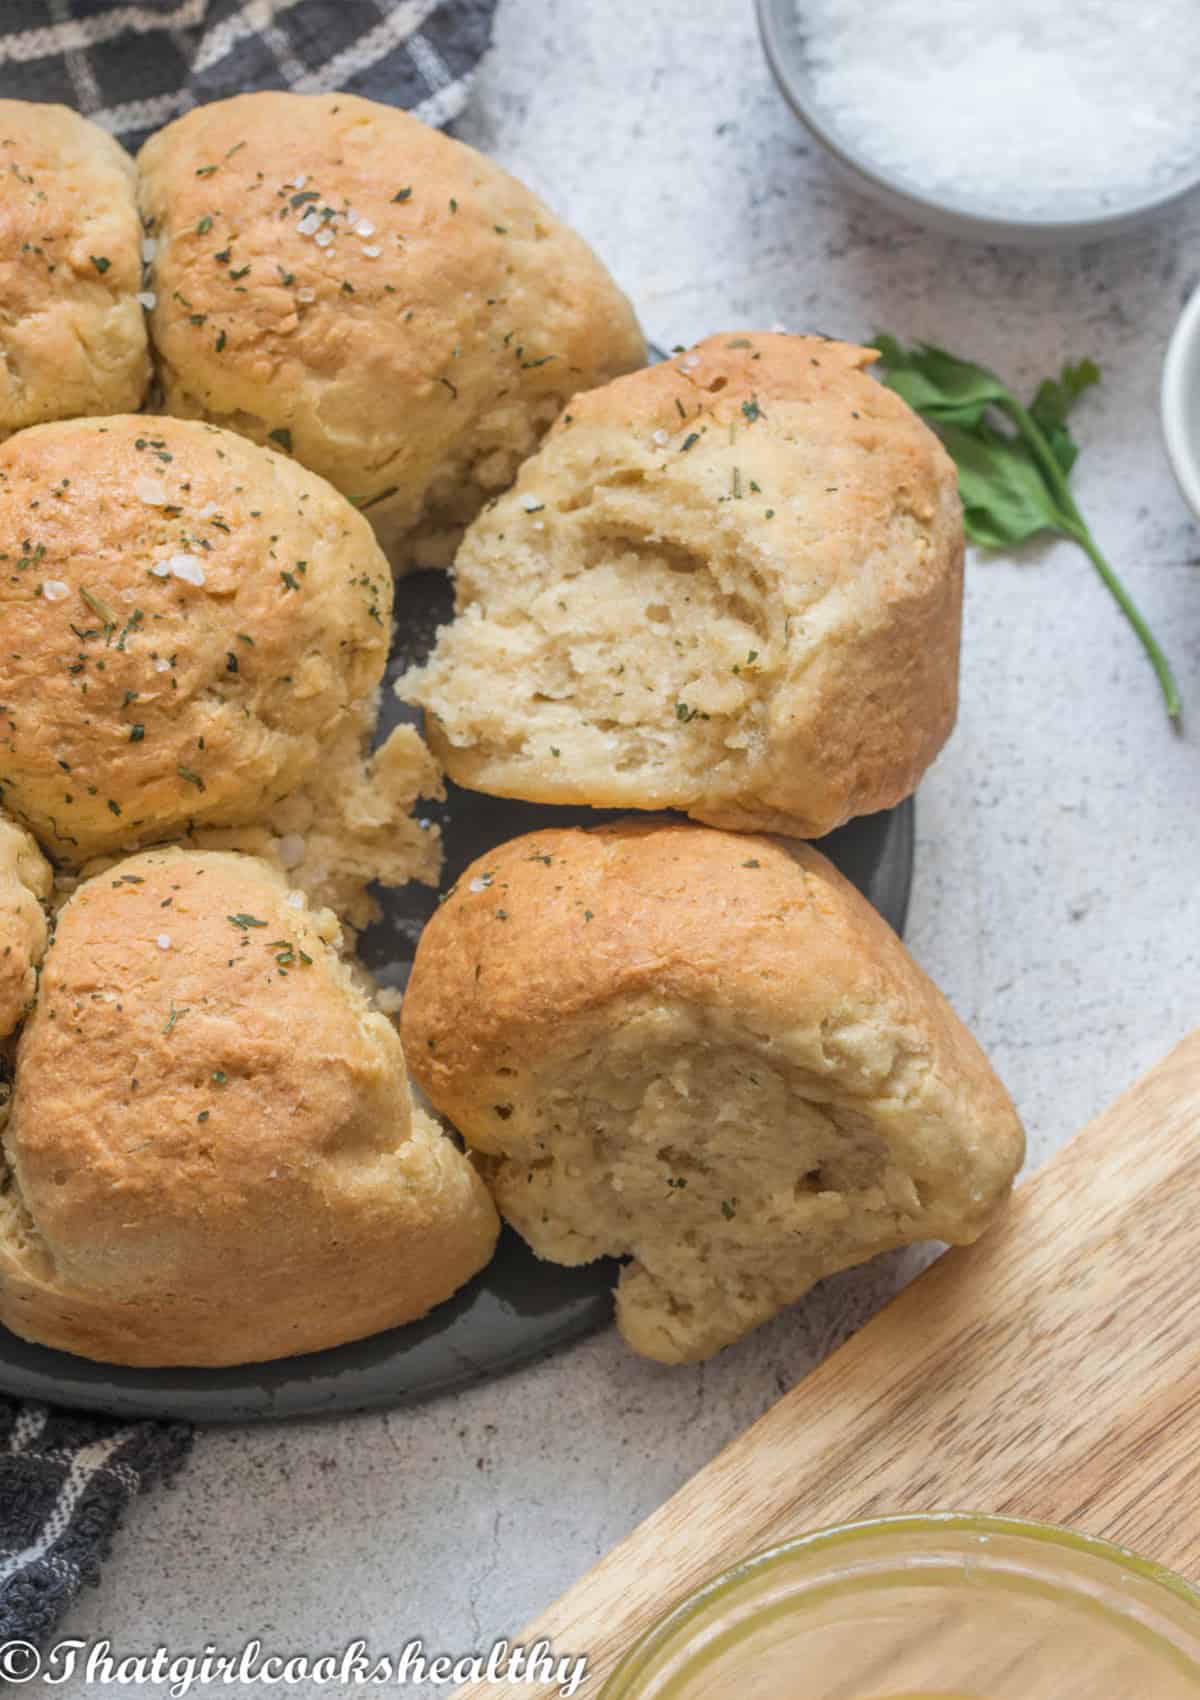
What to expect of the bread
Keep in mind these are HOT DINNER ROLLS meaning you get the best experience when you serve them heated through.
As wholegrain flour creates a more dense/heavier product than white flour, don't expect to compare the results to flour blends that call of white flour.
It's an unfair and unrealistic comparsion to expect the rolls to be extremely super pillow soft.
While they won't be as light and airy as their white flour counterpart, they certainly aren't far off, so keep that in mind.
Incorporating the tangzhong, which I will go into more detail later, makes a ton of difference to the overall texture of the bread
Will the bread be soft? Most definitely! Will the bread be light and airy? No because whole grain bread is more dense.
The flour blend
Over the past few months I have been working dilgently on my own gluten free flour blend.
You see, I'm growing tired of the storebought brands, the ones that are proclaimed to be the best i.e King Arthur and Cup4Cup aren't available where I reside.
Furthermore, Bob Red Mills isn't always a good fit for some of my recipes, especially my Caribbean recipes i.e Roti.
Instead of sitting here frustrated I started to do my own research and tested a few different flours and starches until I got the right formula.
You will notice that a lot of people use white rice flour especially the super fine grain flour in their homemade flour blend.
Infact it tends to be one of the main ingredients, well I shy'ed away as much as possible from ingredients that are inflammatory, highly processed and not wholesome.
The ingredients
I used a combination of brown rice flour, tapioca starch, arrowroot starch, sorghum flour, coconut milk powder and xanthan gum.
Unfortunately, xanthan gum is needed, not even psyllium husk can be used in its place at least not for this recipe.
Each ingredient that has been mentioned is essential for yielding bread rolls with that elasticity texture, including the milk powder.
These rolls really are amazing in texture, they are chewy courtesy of the arrowroot and tapioca starch.
Both starches work in tandem to give that glue, what would be gluten in regular flour which results in a nice chewy texture.
The sorghum and brown rice flour are wholegrain ingredients, unlike white rice flour which is striped of its nutrients, they are not.
Instead, both sorghum and brown rice flour made with whole unprocessed grains which means there essential parts and natural occuring nutrients are still in tact.
Why coconut milk powder?
While I was recipe testing and doing my own research. I learnt that milk powder is a key ingredient for a successful flour blend.
I thought this was insane but I can attest to this first hand, that you will notice the difference if it is not used.
You see milk powder, in this case we are referring more specifically to coconut milk powder acts as an emulsifier.
Emulsifying is very crucial for the overall structure of the bread which is why it cannot be omitted.
The milk helps gluten free flour to be more compatible with fat as well as assisting the the starches to swell.
From an aesthetics point of view, it gives a nice subtle taste and helps with browning the baked goods.
what is tangzhong?
In short, this is a yeast bread technique that is popular across Asia. This method involves taking a small amount of flour and liquid (milk and/or water).
It is also referred to as a water roux.
The flour and liquid are typically mixed together by way of heat until a slurry/paste is made before being combined with the rest of the ingredients.
The whole concept behind a tangzhong, is that the mixture holds more moisture when it is added to the remaining ingredients, that are being used to make the bread recipe.
This yields soft, moist bread with slightly more rise and an increased shelf life without the use of additives or preservatives.
The steps

- Start by making the tangzhong first, in a small saucepan on medium-low heat, add the almond milk, water, flour and whisk to combine.
- Continue whisking until the mixture starts to become a paste then set aside.
- To prepare the dough, add the gluten free flour blend, tapioca starch, instant yeast, cane sugar and pink salt to a stand mixer.
- Use a spoon to stir and combine everything together.
- Fit the mixer with a dough hook and run the mixer on a low setting as you pour in the melted butter, almond milk, egg whites and tangzhong.
- Gradually increase the speed to medium-high and knead the dough for about 2-3 minutes.
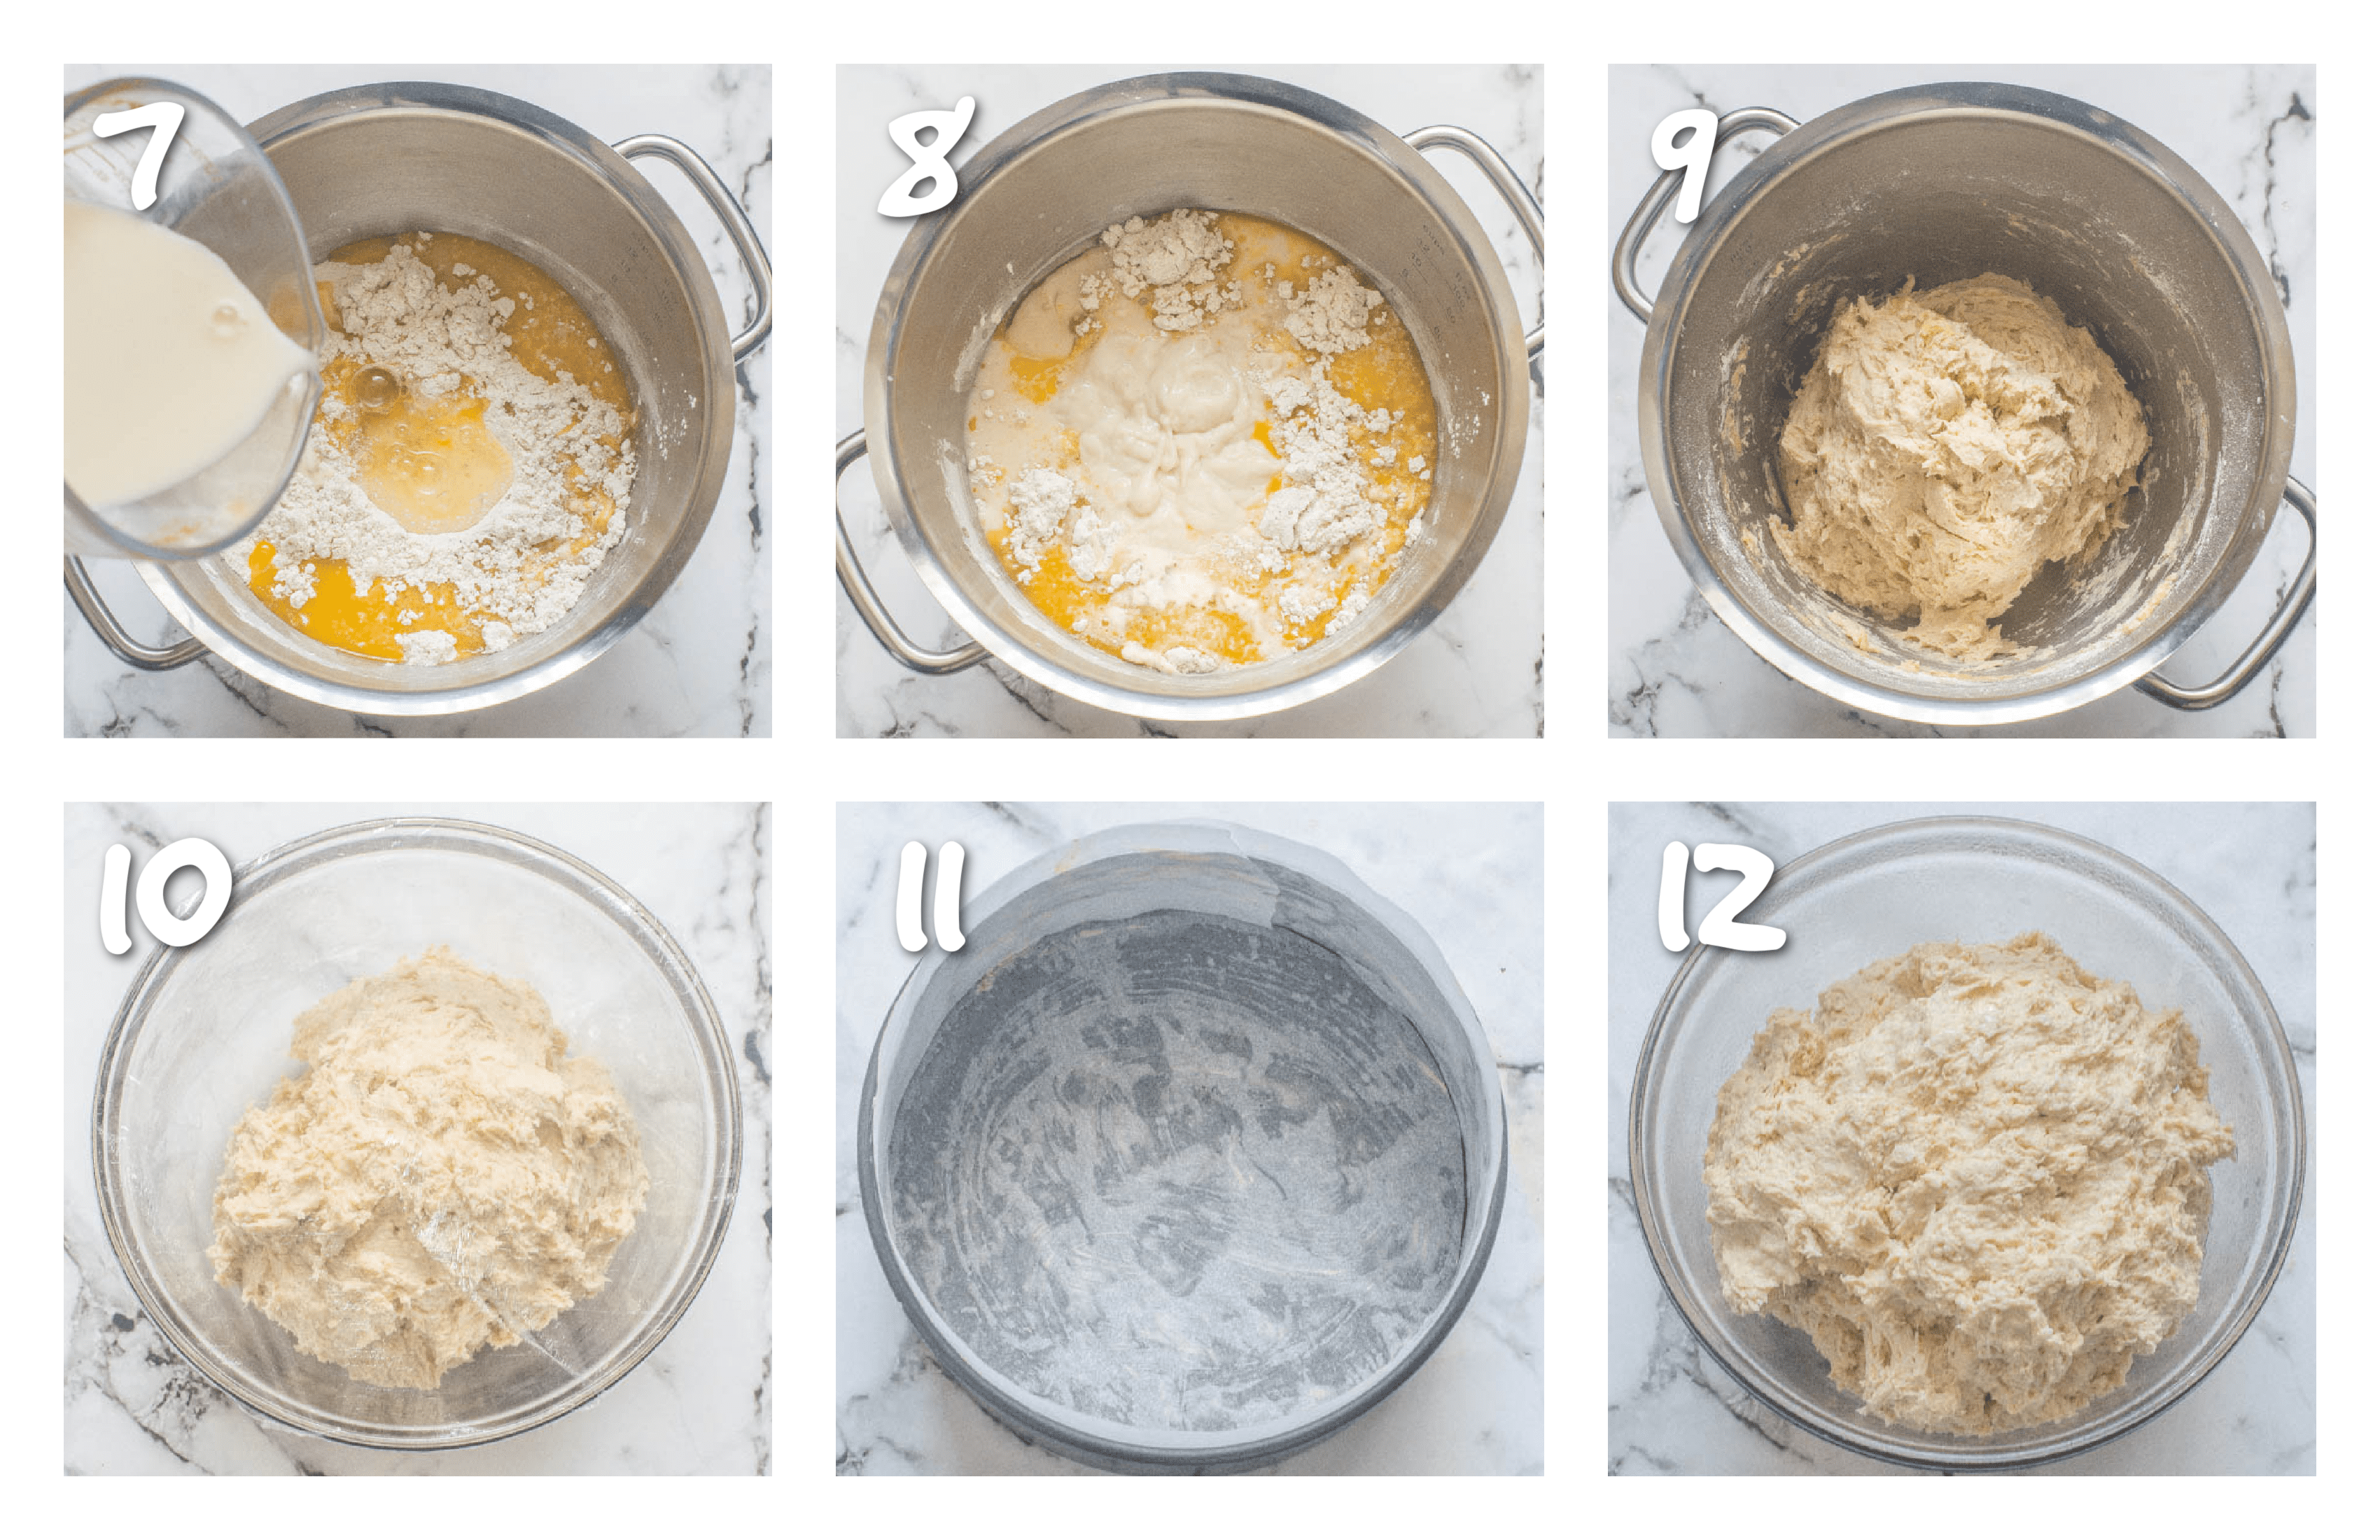
- Scrape the dough together (it should be sticky) and place in a medium sized lightly oiled bowl.
- Cover tightly with saran wrap/cling flim.
- Leave the dough to prove in a warm environment for up to 2 hours (the dough will slightly increase but not double). I like to leave my bowl near a preheated oven to speed things up.
- Grease and line 1-2 cake pans or a cookie sheet, depending on if you want pull apart bread or separate buns.
- Once the dough has proved, transfer it onto a floured surface (use tapioca starch). The dough will feel quite air filled, sticky and light which is normal.
- Knead the dough further with your hands until it is smooth and not sticky. At this point you will be working in more additional tapioca starch until you reach the desired texture (This is a crucial step BUT becareful not to over knead, just knead enough to create smooth dough)
Shaping the dough
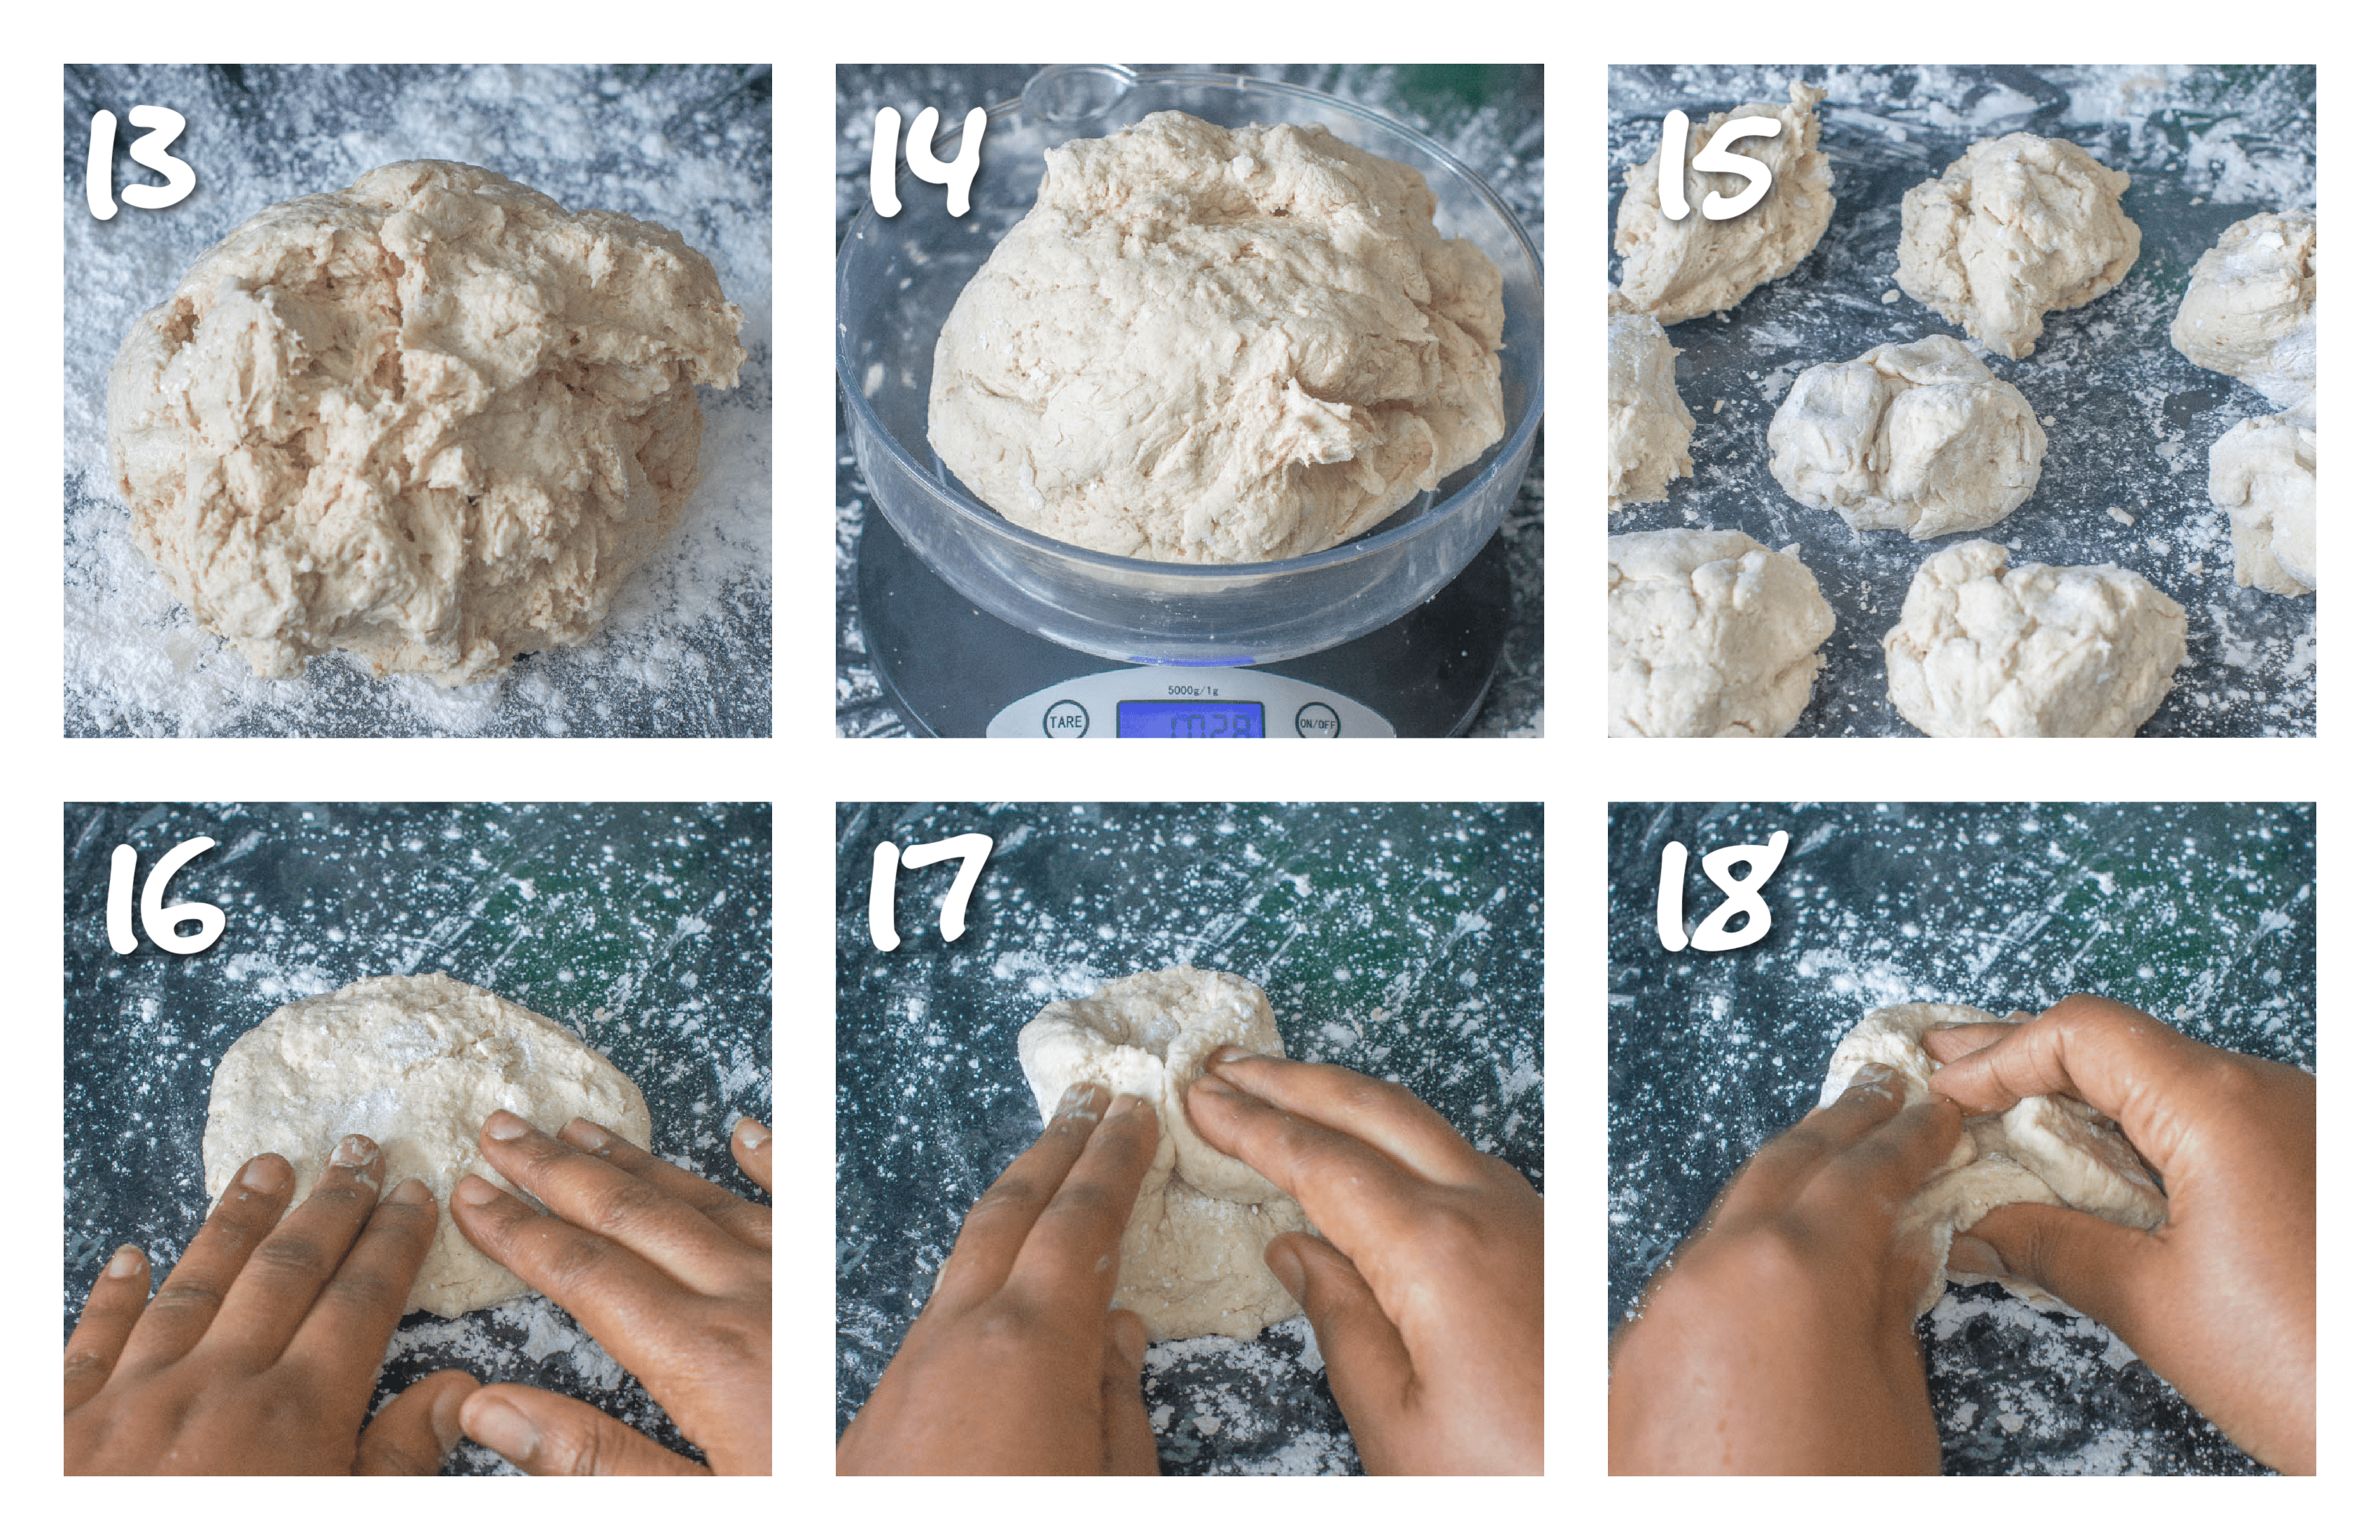
- Weigh the dough on the scales and divide the dough into portions, there should be about 7-8 portions.
- Once you divide the dough, weigh each portion, pinching off or adding more dough to each portion accordingly. Each portion should weigh roughly 128g/4.5oz each (around this figure).
- With one portion of dough at a time, flatten the dough on a surface lightly dusted with starch (keep the surface dusted at all times, re-dust accordingly).
- Take the corners of the dough towards the middle so you get something like a pouch, then pinch the ends together.
- Turn the pouch upside down so the seam is resting on the surface.
- Place your hand so it encloses/covers the dough.
- Roll the dough in a circular motion to close the seam and form a perfectly round ball keeping the pads of your fingers close to the surface.
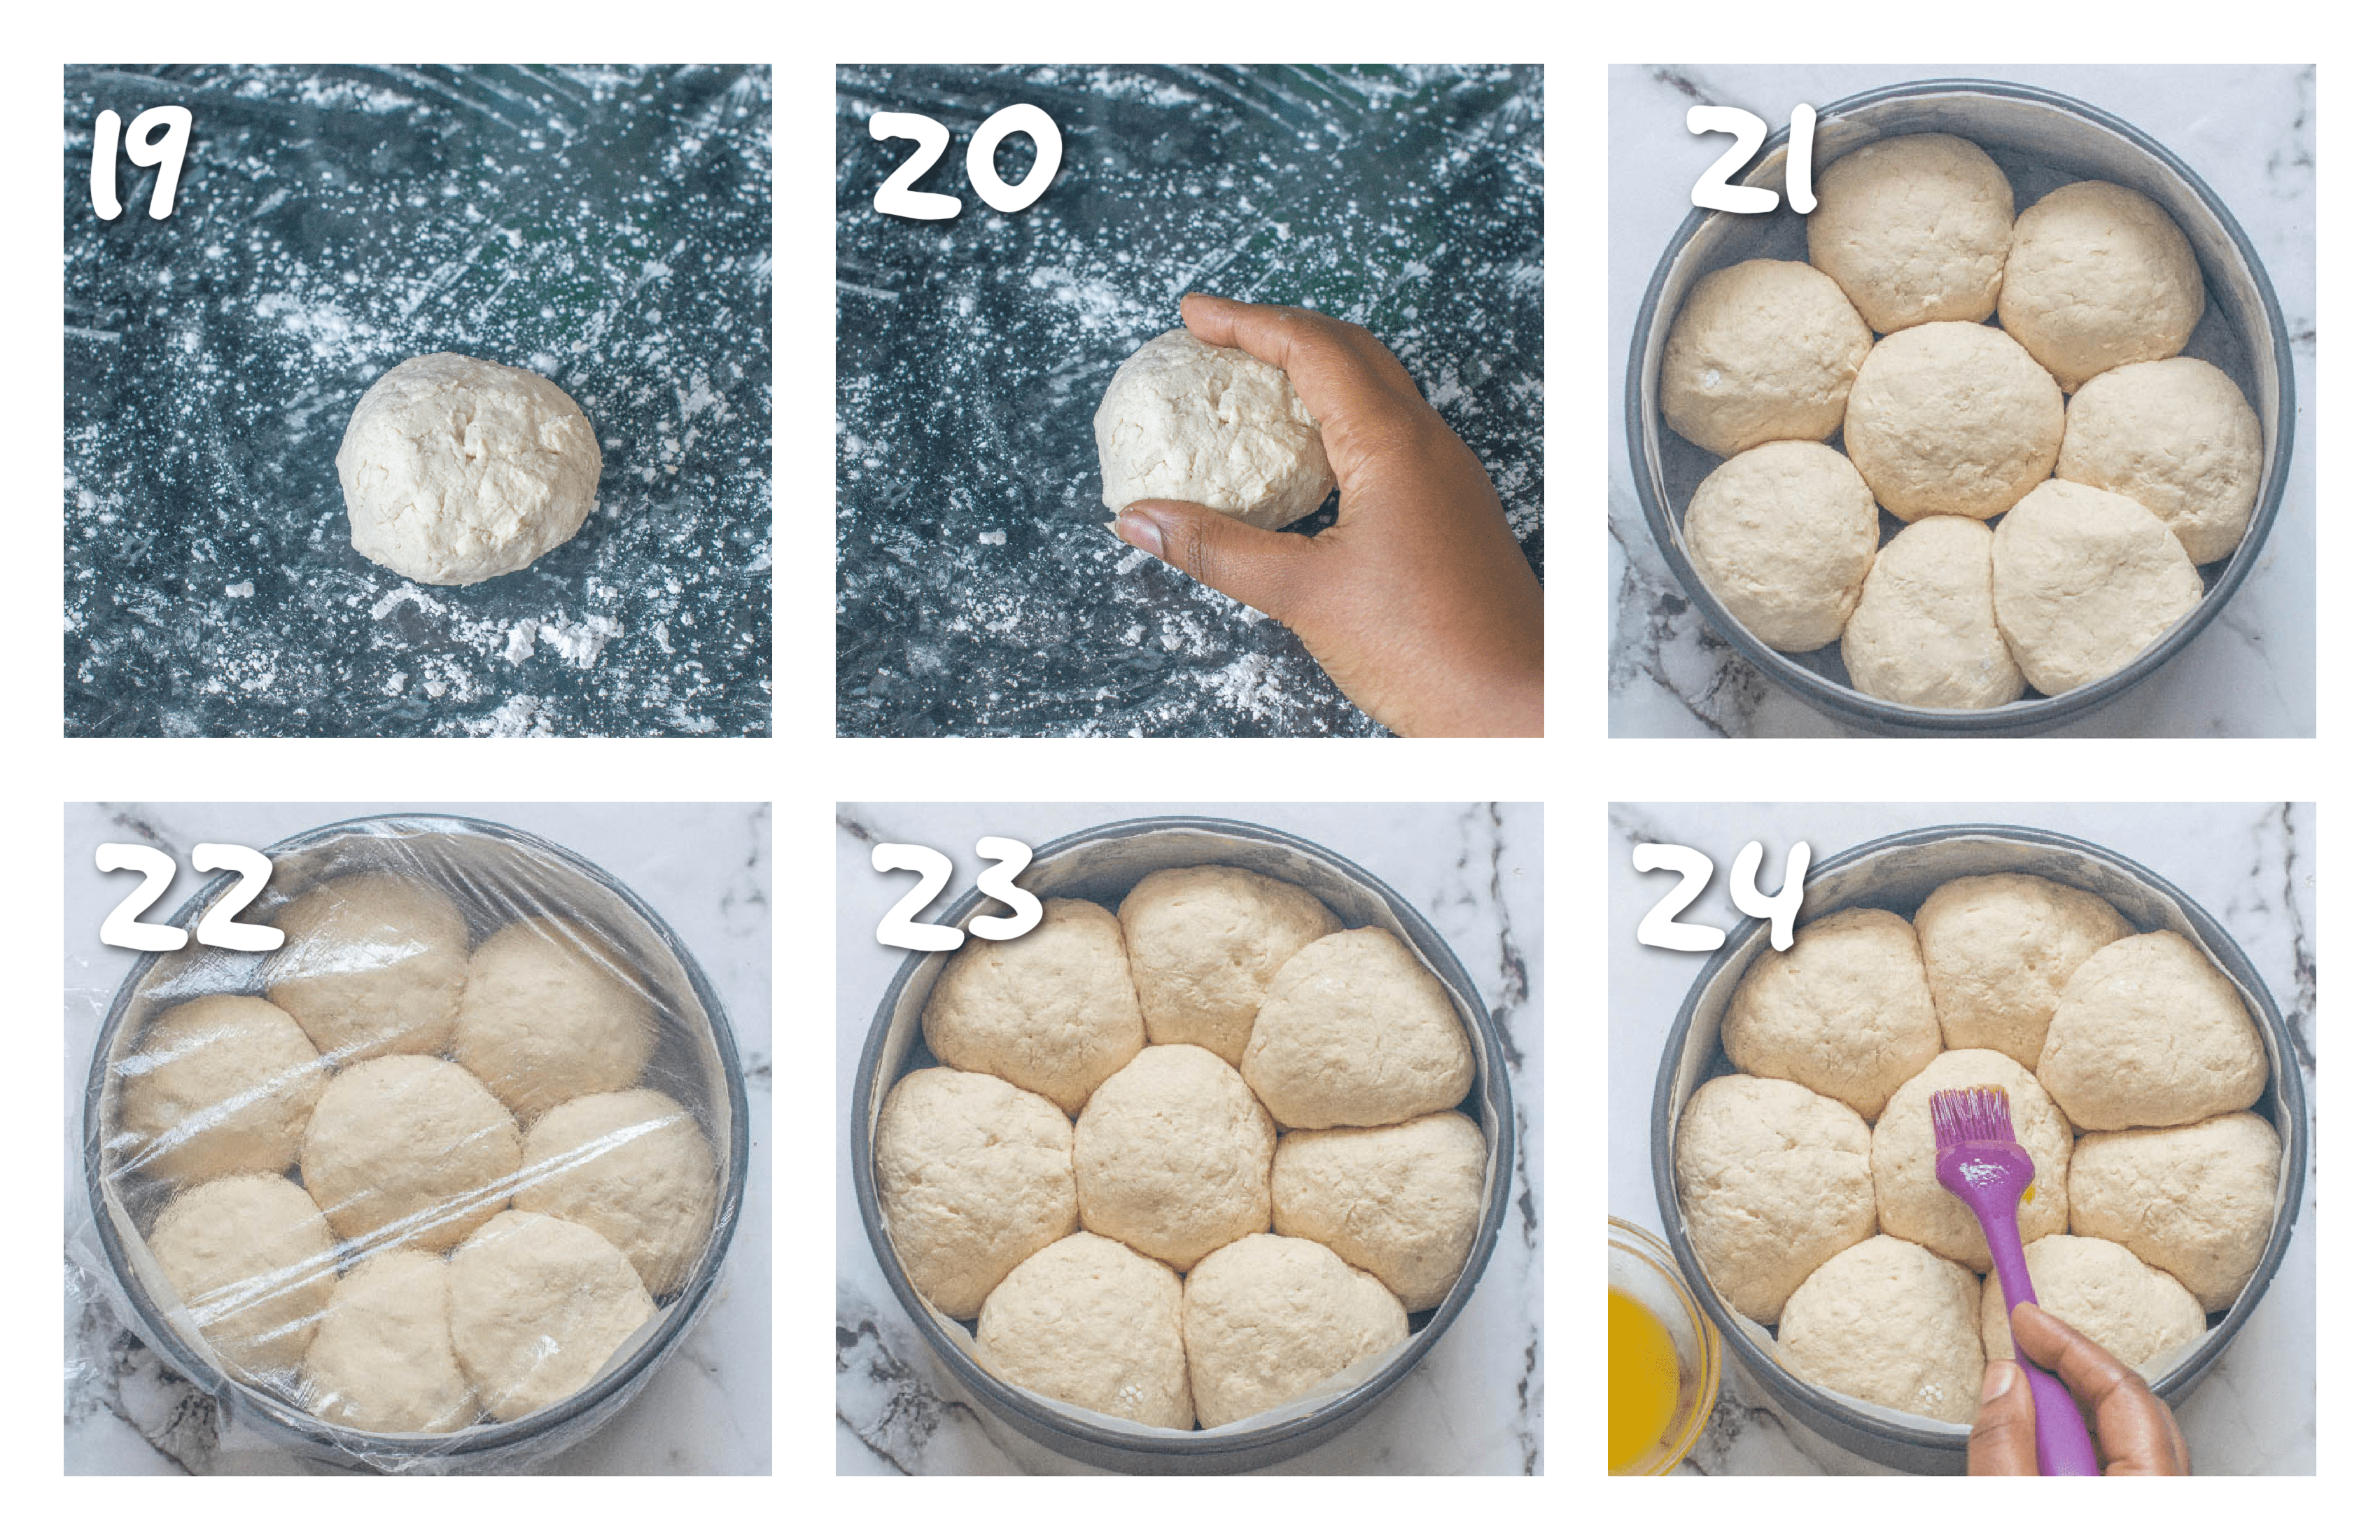
- Place the round ball in the cake pan/cookie sheet and repeat the above steps with the rest of the dough.
- Once all the balls are in the pan, cover with lightly oiled saran wrap/cling film.
- Prove the dough in a warm place (I like to do this by a pre-heated oven) for a hour or until the dough doubles in size.
- Meanwhile preheat the oven to 356F/180C.
- Remove the wrap and Lightly brush the rolls with melted dairy free butter.
- Place the tray in the centre of the oven to bake for roughly 20-25 minutes or until slightly golden. At around the 16 minute mark, reduce the oven to 320F/160C/gas mark 3 and continue to bake for the remaining time. The rolls will be soft and fluffy inside when they are ready!
- Re-apply more melted butter and serve immediately or while they are still warm.
Frequently asked questions
Yes you do! You cannot omit the yeast for this recipe I'm afraid. You will need to use yeast in order for the bread rolls to turn out as pictured.
Yes, you can if you want to. However, you will need to prove the dough for much longer and use 1tbsp plus ½ teaspoon instead.
Another thing, you will need to activate the yeast in some milk first. I suggest you use half of the 1 ¼ cup of milk that is listed and add it before adding the melted butter, egg whites and remaining milk.
I always used instant yeast for my bread recipes because it is very easy to work with and doesn't need to be activated.
YES! They taste their best when warm, what I recommend is to wrap them tightly in aluminium foil and heat them in the oven to retain their soft texture.
Unfortunately I haven't tried making a vegan friendly version of these rolls but you are more than welcome to experiment and let me know via email or the comments section.
With the tangzhong method being used, I managed to get up to 5 days out of them.
You will want to pull the rolls apart and then wrap them tightly with saran wrap then store them in a zip lock bag or air tight container.
Yes, you can shape the buns and place them a few inches apart instead on a lined cookie sheet.
Leaving the dough in a warm environment is essential for the dough to rise.
However, the length of time may vary depending on your climate/location which is why I recommend doing the bowl next to the oven as you are likely to same outcome each and everytime.
If your environment is chilly and you do not have access to a warm area then no the dough will not rise.
Yes, this is normal, atleast for my recipe prior to kneading the dough. The dough will become more smooth and workable when you add the tapioca starch to smooth it out.
Notes and tips
- Try to keep the rolls the same size, they will rise in unison and not uneven.
- It's best to serve the bread while it is warm/hot, the texture is at its softest and fluffiest when warm.
- When you are forming the balls of dough, it is important to keep the surface dusted with starch at all times, so re-dust as you go along.
- To save time you can weigh all of the ingredients out and put them in bowls (store the wet ingredients in the refrigerator and dry on the countertop).
- If you need to re-heat the rolls, I suggest wrapping them in foil individually and re-heat them in the oven for several minutes.
- Any leftover bread should be stored in an airtight container for no more than 4-5 days.
- Please use MY GLUTEN FREE flour blend for this recipe, if you choose to deviate from the recipe then you are taking that risk and I refuse to be held accountant for any recipe fails (this is not fair on me and other readers).
- Make sure to knead the dough thoroughly before scaling down into small portions.
- The proving time and size of the dough may vary for you, so use the instructions as a guide.
- To fast rack the proving progress if possible, I highly recommend sitting your bowl and baking pan next to a warm oven.
More recipes using my GF flour blend
More bread recipes
- Gluten Free Naan Bread
- Gluten Free Roti
- Dhal Puri Roti
- Gluten Free Shortbread Cookies
- Sweet Dairy Free Cornbread
- Irish Potato Bread
- Sweet Potato Dinner Rolls
**Don't forget to comment below and star rate if you have tried my recipes. Let's be friends and engage on YouTube, Facebook and Instagram I also like to pin on Pinterest, where you can find more amazing recipes.**
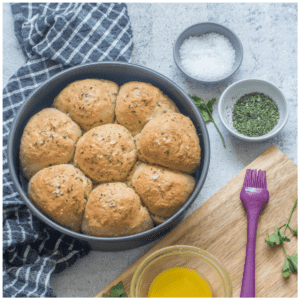
Gluten Free Dinner Rolls
Ingredients
To make the tangzhong
- ¼ cup Charla's gluten free flour (34g)
- ½ cup almond milk (118ml)
- ¼ cup water (60ml)
To make the dough
- 3¼ cups Charla's gluten free flour (442g)
- 10 tablespoon tapioca starch (80g)
- ½ teaspoon pink salt (3g)
- 4 teaspoon instant yeast (12g)
- ¼ cup raw cane sugar (50g) or coconut sugar
- ¾ cup almond milk (177ml) lukewarm
- 8 tablespoon dairy free butter (112g) melted
- 2 large egg whites
- additional melted butter for glazing the rolls
Instructions
To make the tangzhong
- Start by making the tangzhong first, in a small saucepan on medium-low heat.
- Add the almond milk, water, flour and whisk to combine.
- Continue whisking until the mixture starts to become a paste then set aside.
To make the dough
- To prepare the dough, add the gluten free flour blend, tapioca starch, instant yeast, cane sugar and pink salt to a stand mixer.
- Use a spoon to stir and combine everything together.
- Fit the mixer with a dough hook and run the mixer on a low setting as you pour in the melted butter, almond milk, egg whites and tangzhong.
- Gradually increase the speed to medium-high and knead the dough for about 2-3 minutes.
- Scrape the dough together (it should be sticky) and place in a medium sized lightly oil bowl.
- Cover tightly with saran wrap/cling flim.
- Leave the dough to prove in a warm environment for up to 2 hours (the dough will slightly increase but not double). I like to leave my bowl near a preheated oven to speed things up.
- Grease and line 1-2 cake pans or a cookie sheet, depending on if you want pull apart bread or separate buns.
Kneading the dough
- Once the dough has proved, transfer it onto a floured surface (use tapioca starch).
- The dough will feel quite air filled, sticky and light which is normal.
- Knead the dough further with your hands until it is smooth and not sticky. At this point you will be working in more additional tapioca starch until you reach the desired texture (This is a crucial step BUT becareful not to over knead, just knead enough to create smooth dough)
Shaping the dough
- Weigh the dough on the scales and divide the dough into portions, there should be about 7-8 portions.
- Once you divide the dough, weigh each portion, pinching off or adding more dough to each portion accordingly.
- Each portion should weigh roughly 128g/4.5oz each (around this figure).
- With one portion of dough at a time, flatten the dough on a surface lightly dusted with starch (keep the surface dusted at all times, re-dust accordingly).
- Take the corners of the dough towards the middle so you get something like a pouch, then pinch the ends together.
- Turn the pouch upside down so the seam is resting on the surface.
- Place your hand so it encloses/covers the dough.
- Roll the dough in a circular motion to close the seam and form a perfectly round ball keeping the pads of your fingers close to the surface.
- Place the round ball in the cake pan/cookie sheet and repeat the above steps with the rest of the dough.
- Once all the balls are in the pan, cover with lightly oiled saran wrap/cling film.
- Prove the dough in a warm place (I like to do this by a pre-heated oven) for a hour or until the dough doubles in size.
Baking the bread rolls
- Meanwhile preheat the oven to 356F/180C.
- Remove the wrap and Lightly brush the rolls with melted dairy free butter.
- Place the tray in the centre of the oven to bake for roughly 20-25 minutes or until slightly golden. At around the 16 minute mark, reduce the oven to 320F/160C/gas mark 3 and continue to bake for the remaining time. The rolls will be soft and fluffy inside when they are ready!
- Re-apply the melted butter and serve immediately or while they are still warm.
**PLEASE NOTE THAT MY BREAD RECIPES, ARE HOT/WARM RECIPES, MEANING YOU WILL NEED TO SERVE THEM IMMEDIATELY OR THEY WILL BECOME DENSE WHEN COLD**
Notes
- Try to keep the rolls the same size, they will rise in unison and not uneven.
- It's best to serve the bread while it is warm/hot, the texture is at its softest and fluffiest when warm.
- When you are forming the balls of dough, it is important to keep the surface dusted with starch at all times, so re-dust as you go along.
- To save time you can weigh all of the ingredients out and put them in bowls (store the wet ingredients in the refrigerator and dry on the countertop).
- If you need to re-heat the rolls, I suggest wrapping them in foil individually and re-heat them in the oven for several minutes.
- Any leftover bread should be stored in an airtight container for no more than 4-5 days.
- Please use MY GLUTEN FREE flour blend for this recipe, if you choose to deviate from the recipe then you are taking that risk and I refuse to be held accountant for any recipe fails (this is not fair on me and other readers).
- Make sure to knead the dough thoroughly before scaling down into small portions.
- The proving time and size of the dough may vary for you, so use the instructions as a guide.
- To fast rack the proving progress if possible, I highly recommend sitting your bowl and baking pan next to a warm oven.
Mahy says
Dinner rolls are the best! I love making a bunch every time I make a soup. They go so well together.
Charla says
I completely agree!
Dannii says
You can't beat a good dinner roll and these gluten free ones look delicious.
Charla says
Thank you so much Dannii
Amanda Wren-Grimwood says
These rolls look amazing and thanks so much for your detailed instructions as I'm not a very experienced breadmaker.
Charla says
You are most welcome Amanda
Ieva says
This is brilliant! I have my mother who is lactose intolerant and my mother-in-law who avoids gluten, visiting over the festive period, so this recipe is a savour! I've tested it last night and they turned out beautifully! Will definitely make these over Christmas again!
Charla says
Yay! I'm so glad the recipe has worked out for you Leva.
Anjali says
We made these rolls as a side dish for our gluten-free pasta dinner tonight and they turned out great! They were soft, fluffy and no one could tell they were gluten-free!
Charla says
Yay! Another hit, thanks for the feedback